Building a Virtual Security Home Lab: Part 10 - Splunk Setup & Configuration
A step-by-step guide for building your very own Cybersecurity Home Lab using VirtualBox
Banner Background by logturnal on Freepik
Hacker Image by catalyststuff on Freepik
In this module, we will set up Splunk (SIEM) in a Ubuntu VM. The VM will be added to the SECURITY subnet. Then we will configure Splunk Universal Forwarder on our Windows Server 2019 (DC) VM which will allow Splunk to ingest logs from the DC.
Ubuntu Setup
Downloading the Image
Go to the following URL: Download Ubuntu Desktop | Download | Ubuntu.
Download the latest LTS version of Ubuntu. As of writing the latest version is 2022.04.3
The ISO is ~5GB.

After the download is complete you will have a .iso file.

Creating the VM
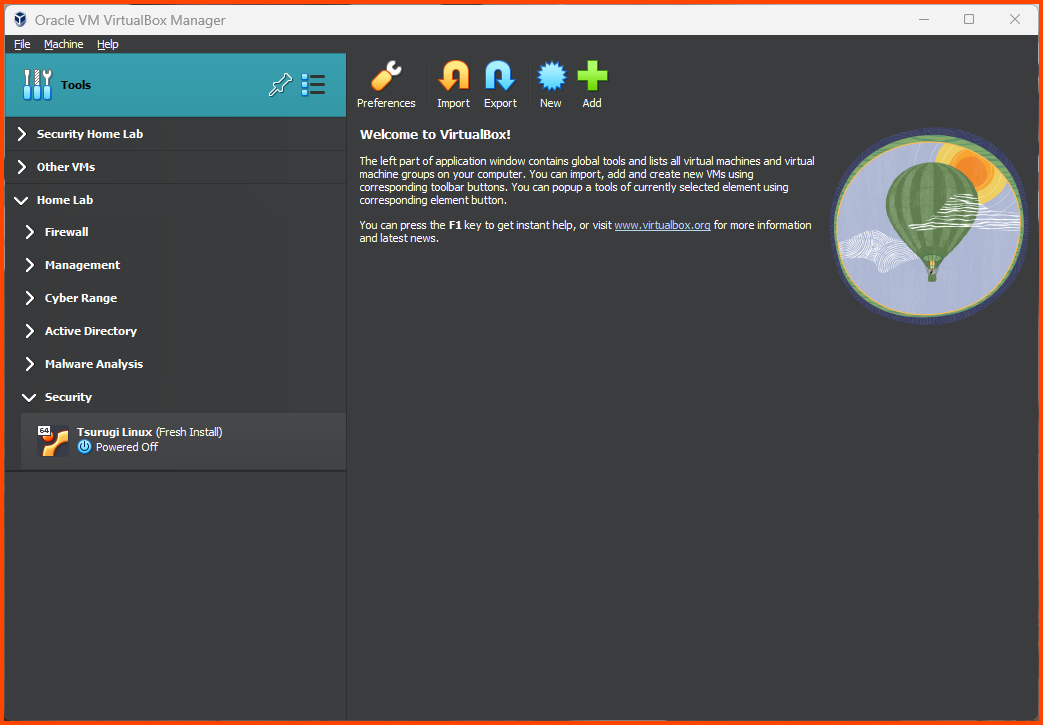
In VirtualBox from the sidebar select Tools and then click on New from the toolbar.
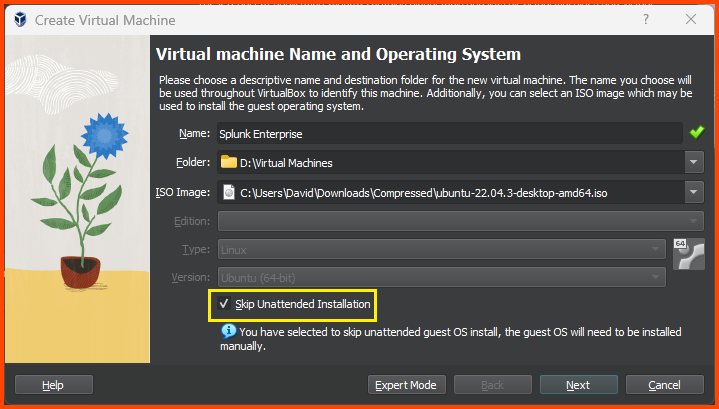
Give the VM a name. Select the downloaded ISO image. Select the “Skip Unattended Installation” option and click on Next.
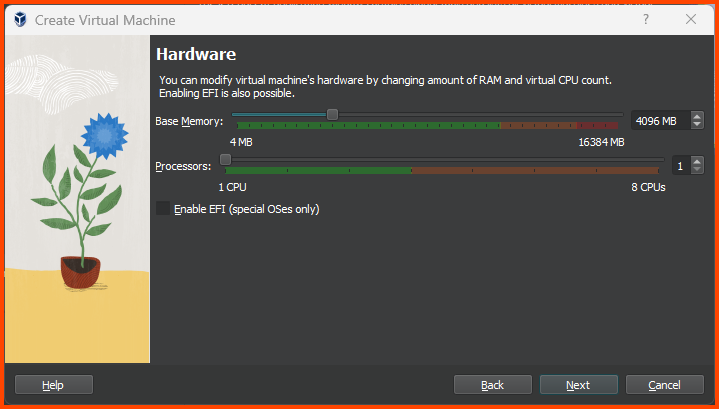
Increase the Base Memory to 4096MB (4GB) and click on Next.
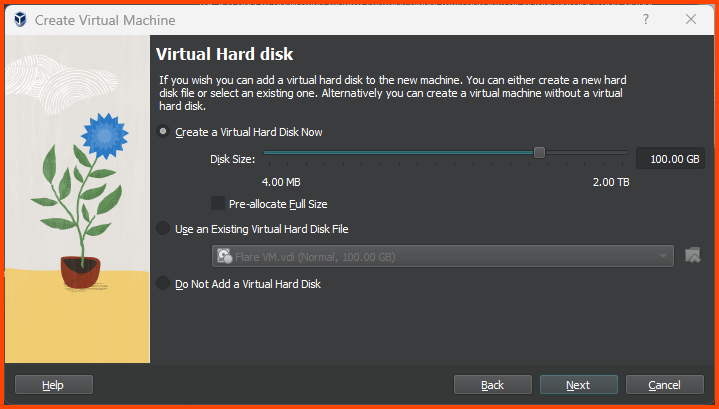
Increase the Hard Disk size to 100GB and click on Next.
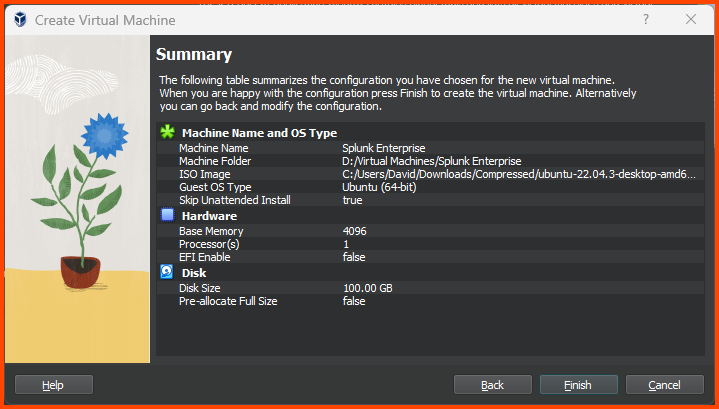
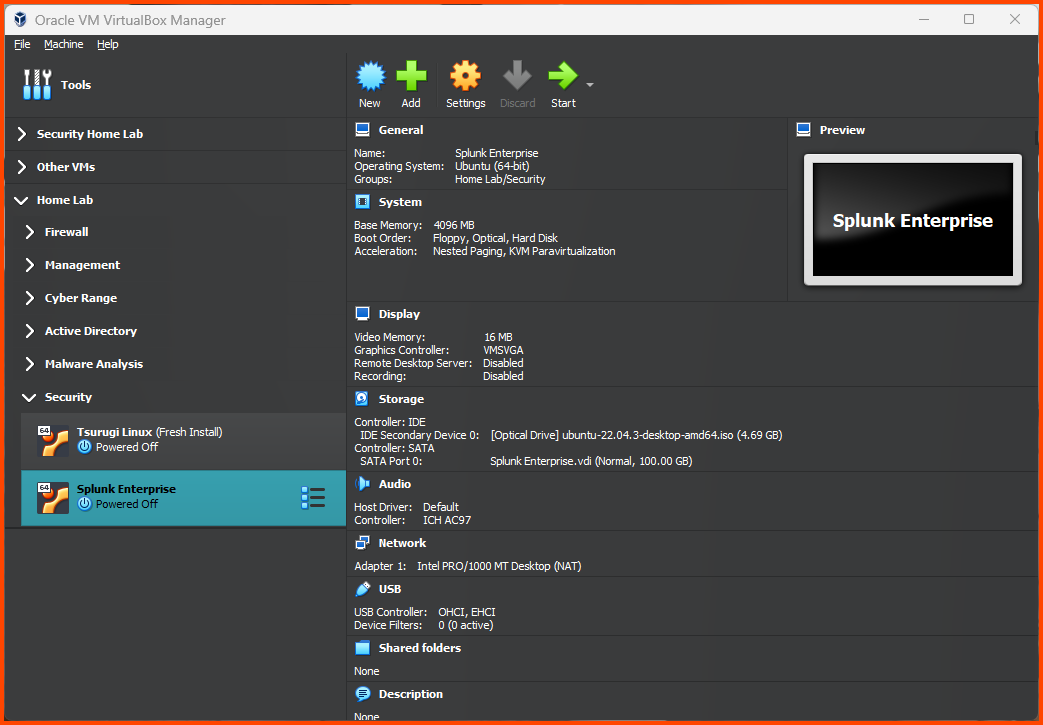
Confirm that all the settings look correct and click on Finish.
Adding VM to Group
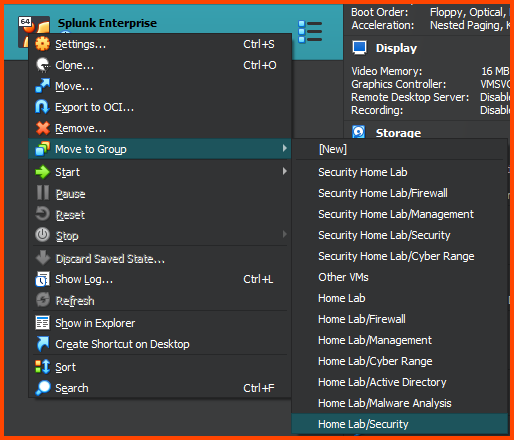
Right-click the VM and select “Move to Group” then choose Home Lab/Security.
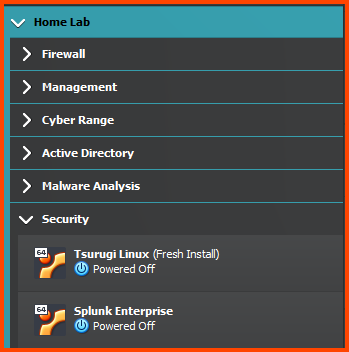
The final result should look as follows:
Configuring the VM
Select the VM and click on Settings from the toolbar.
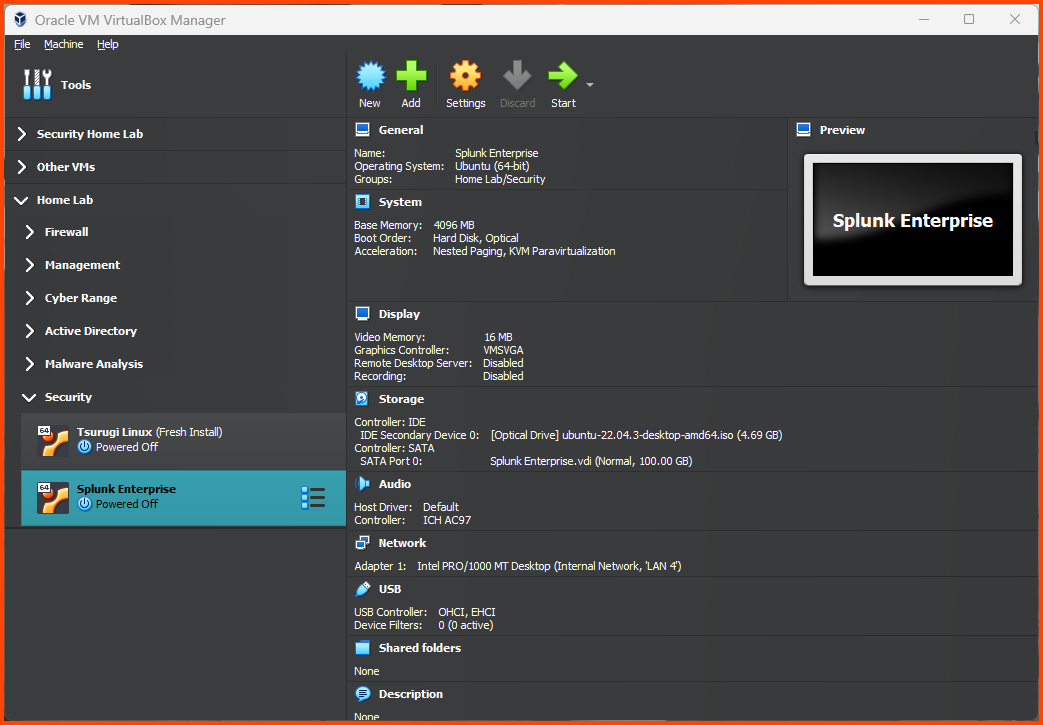
Go to System -> Motherboard. In Boot Order ensure that Hard Disk is on the top followed by Optical. Uncheck Floppy.

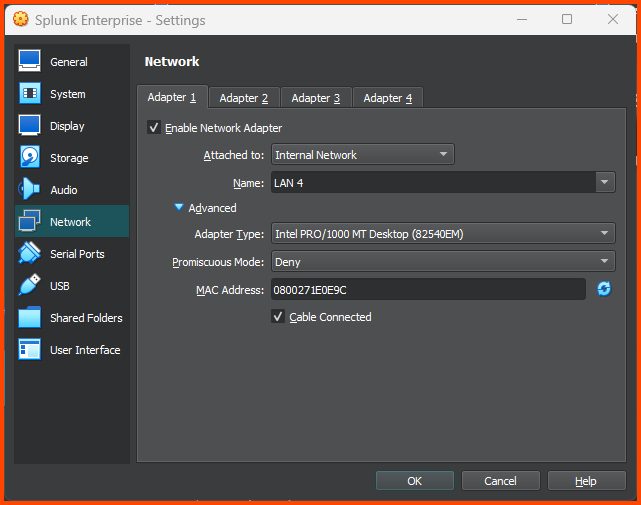
Go to Network -> Adapter 1. For the Attached to field select Internal Network. For name select LAN 4. Click on OK to save changes.
Installing Ubuntu
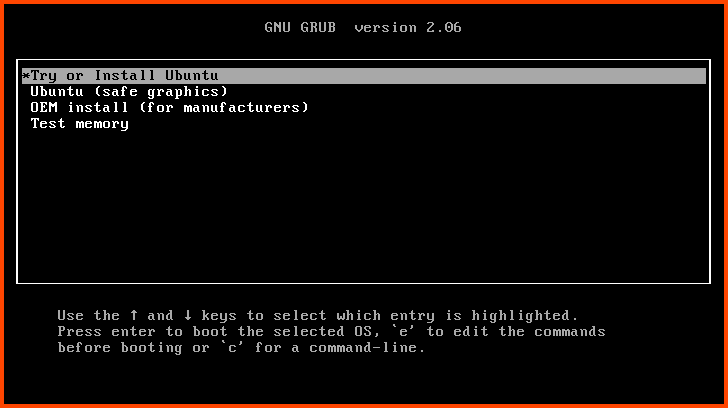
Select the VM and click on Start.
Press Enter to start the Graphical Installer.
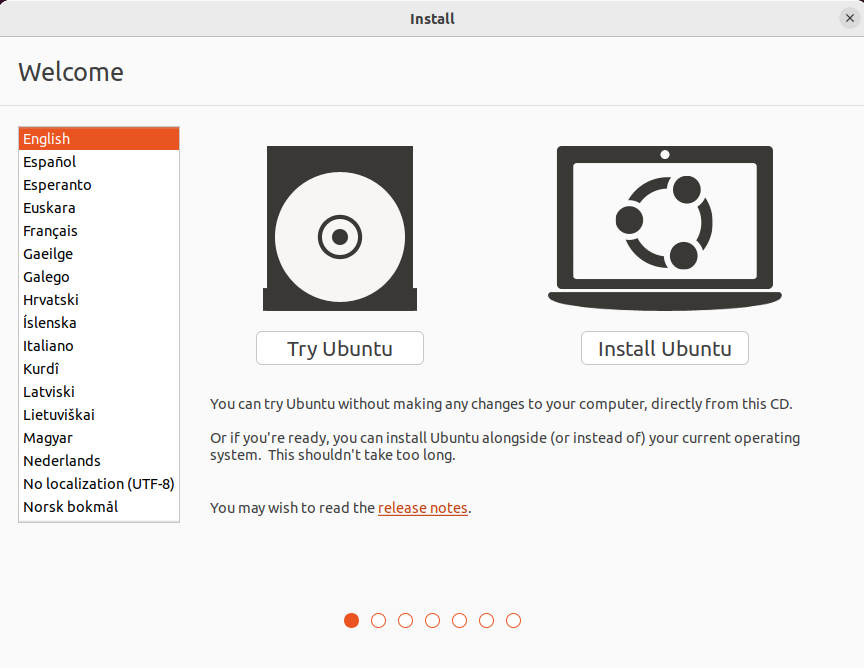
Select your language and click on “Install Ubuntu”.
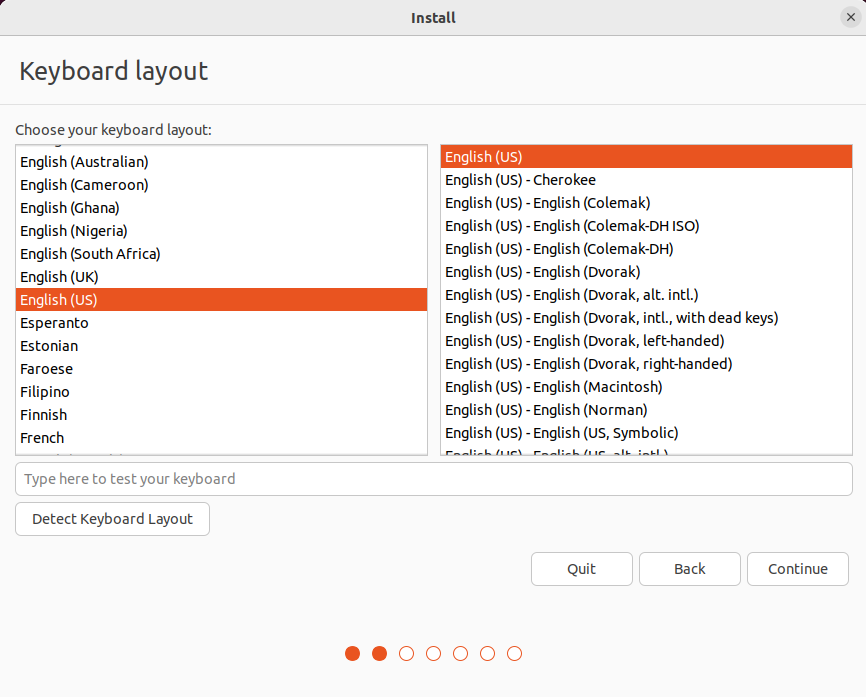
Select Keyboard Layout and click on Continue.
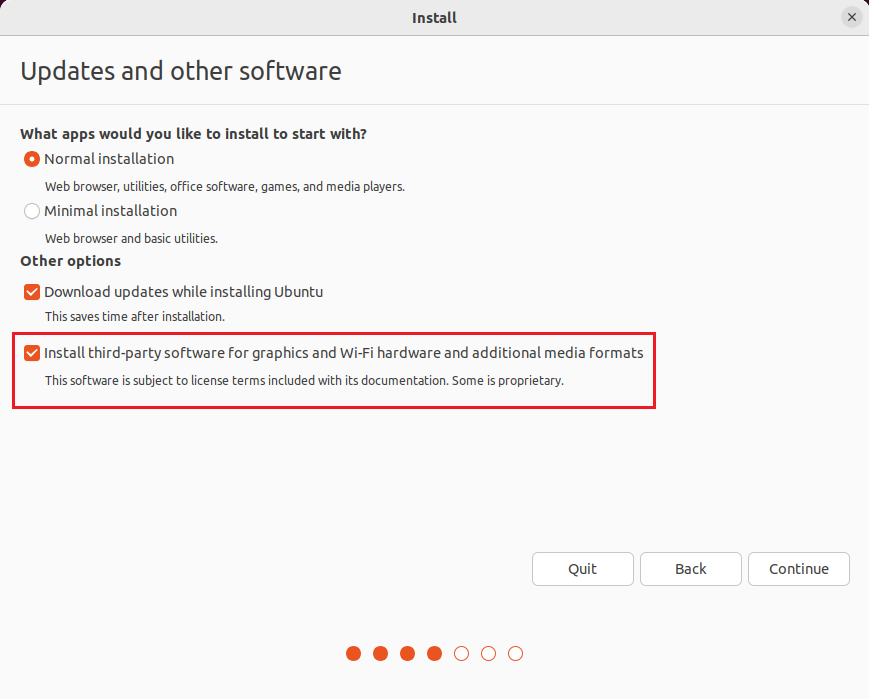
Enable “Install third-party software for graphics and Wi-Fi hardware and additional media formats” and click on Continue.
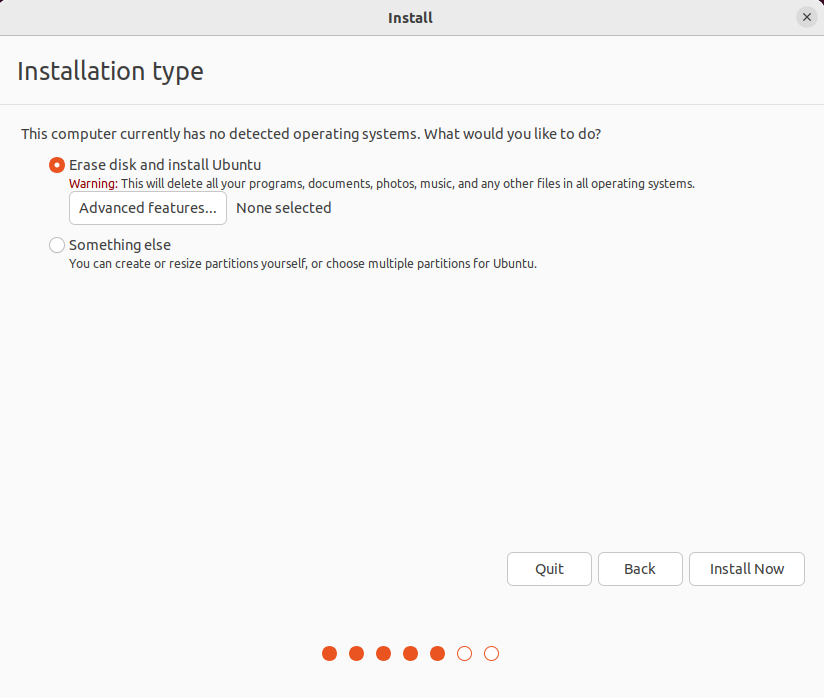
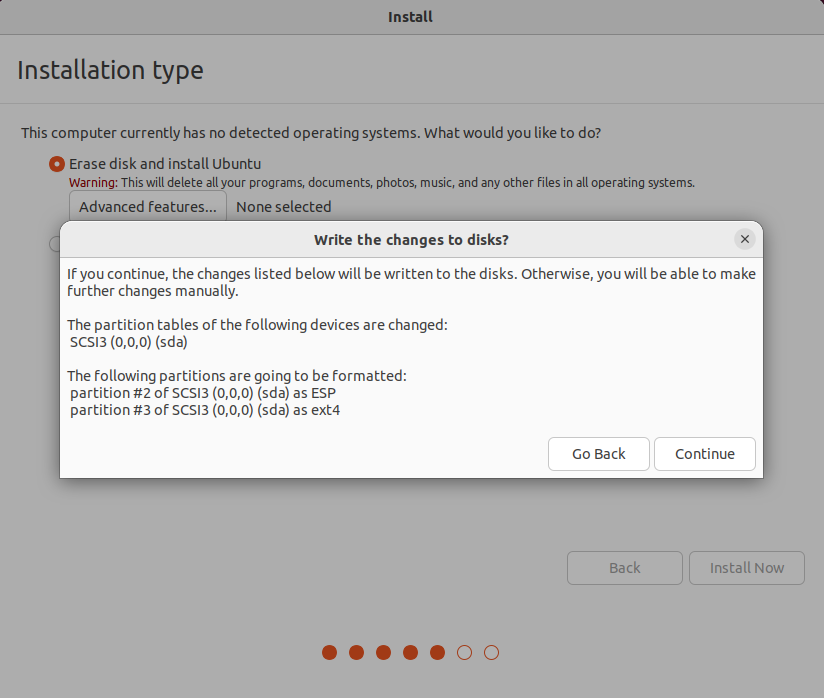
Click on Install Now.
Click on Continue.
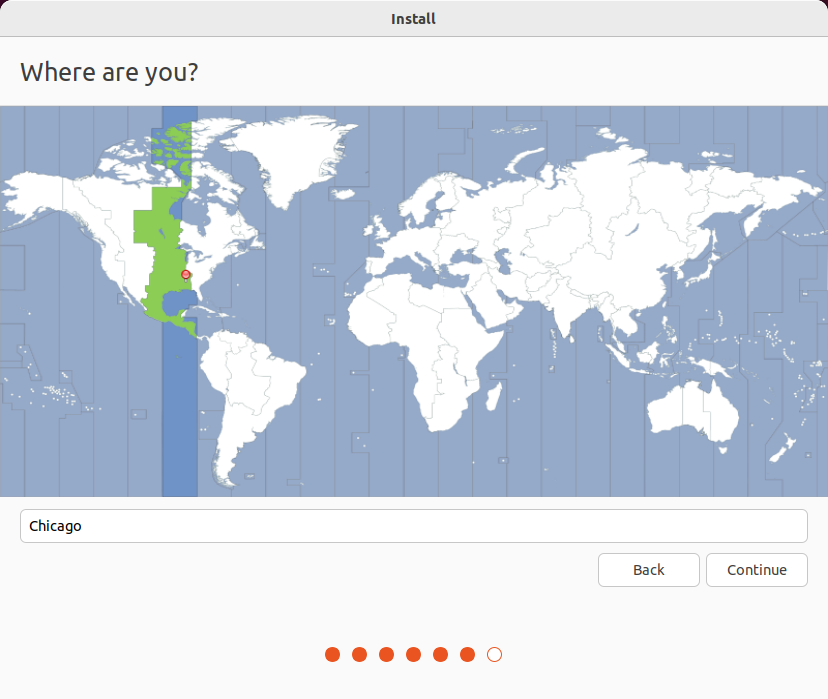
Select your location and click on Continue.
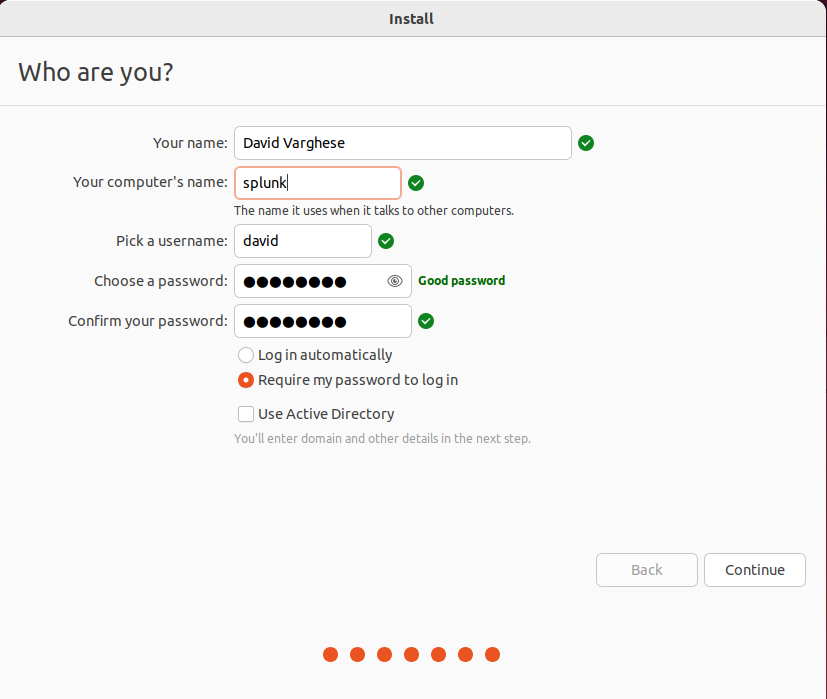
Enter the username, password and hostname and click on Continue.
Click on Restart Now to boot into the system.
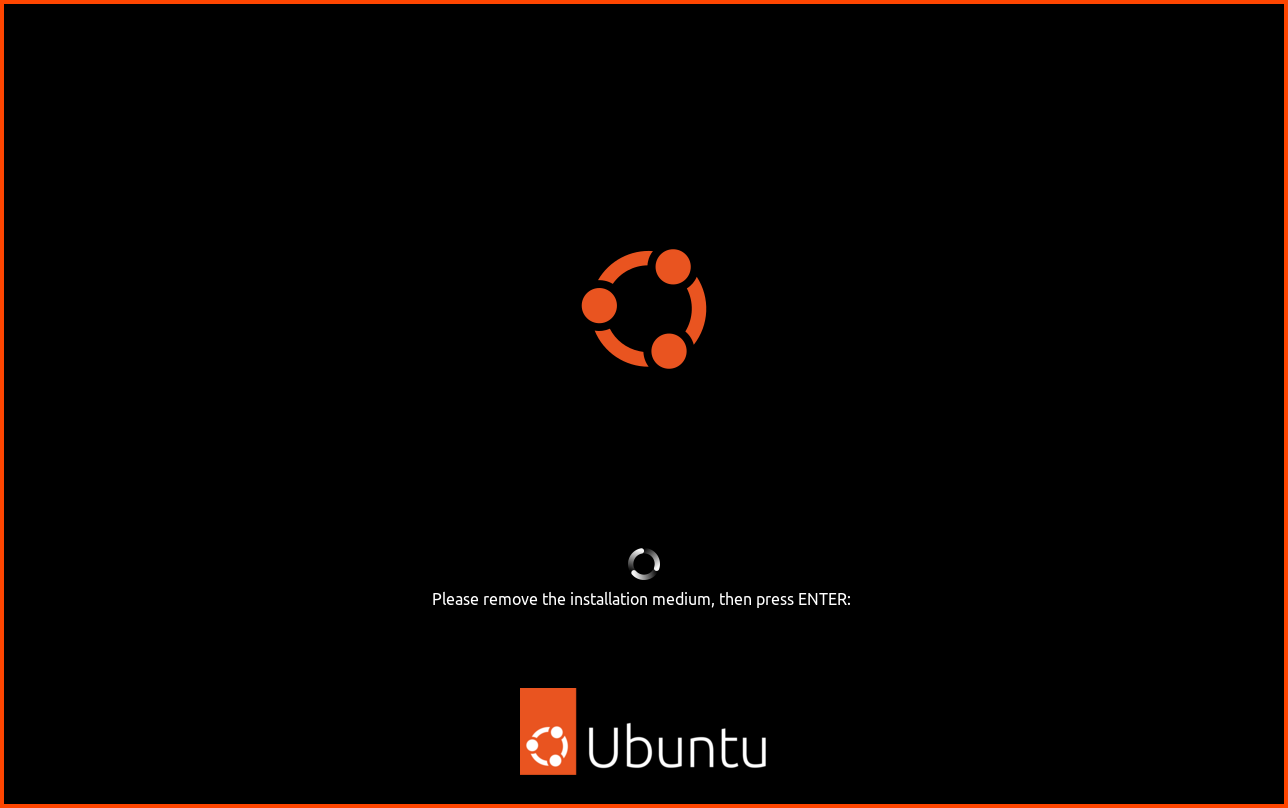
VirtualBox will automatically remove the ISO file from the disk drive. Press Enter to boot into the newly installed system.
Login using your password.
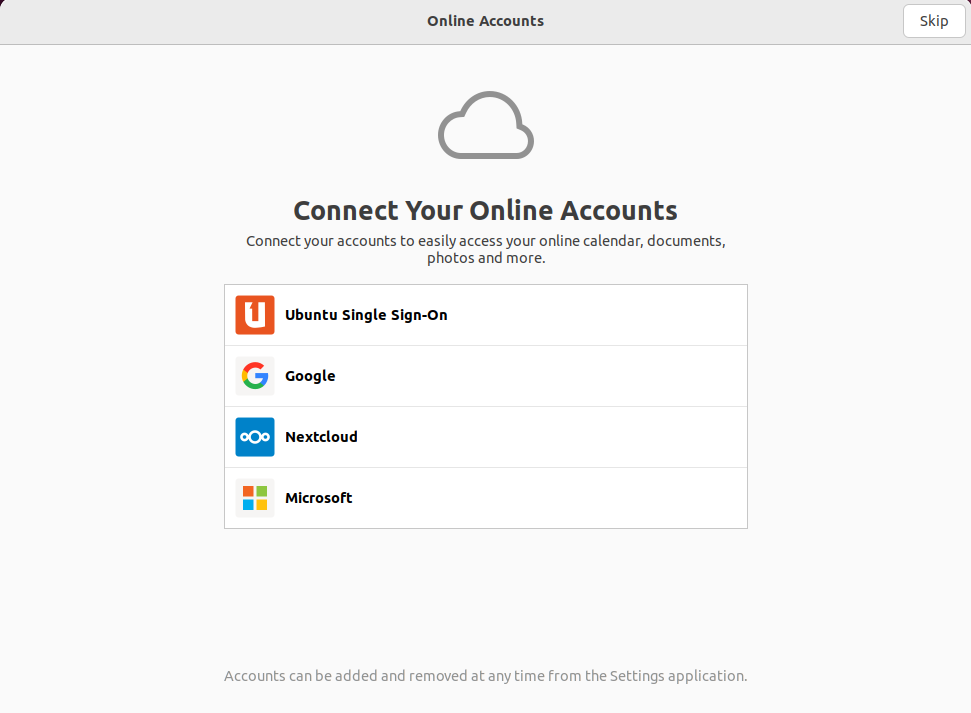
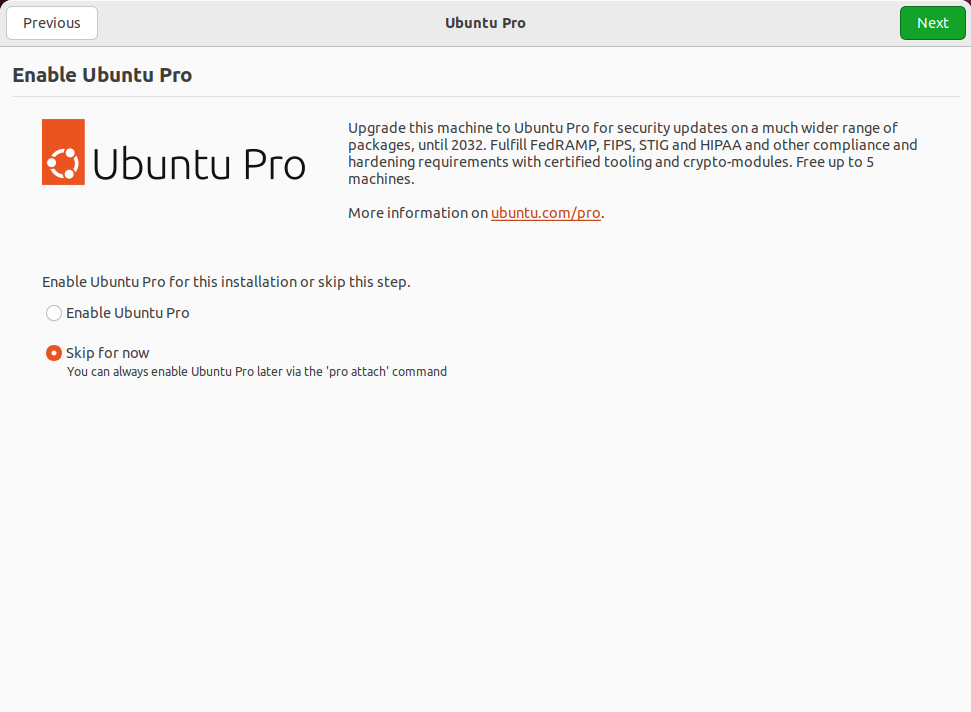
Complete the post-install setup as shown. Click on Skip.
Click on Next.
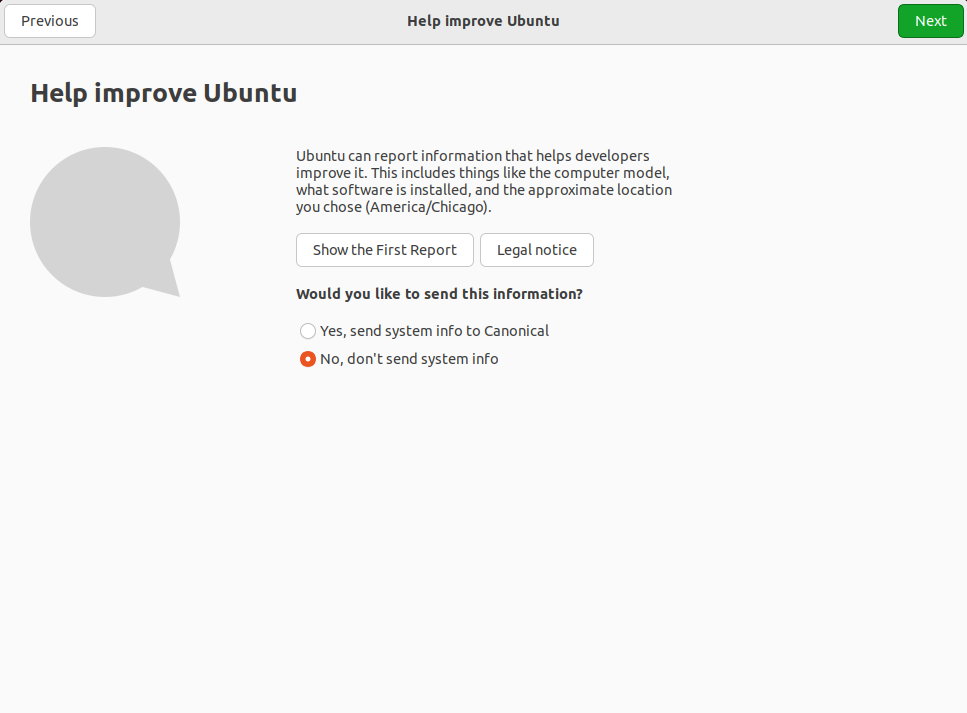
Select “No, don't send system info” and click on Next.
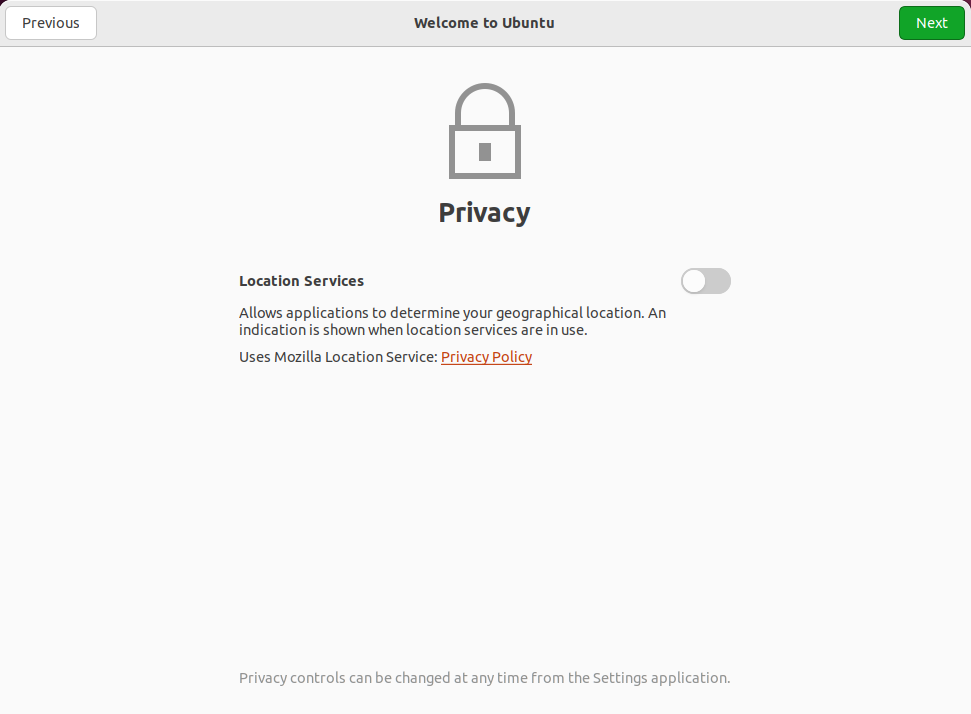
Ensure this setting is disabled and click on Next.
Click on Done to close the wizard.
Post-Install Configuration
Install Guest Additions
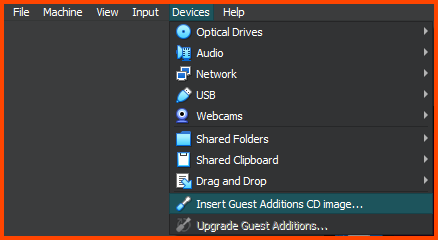
From the VM toolbar select Devices -> Install Guest Additions CD image.
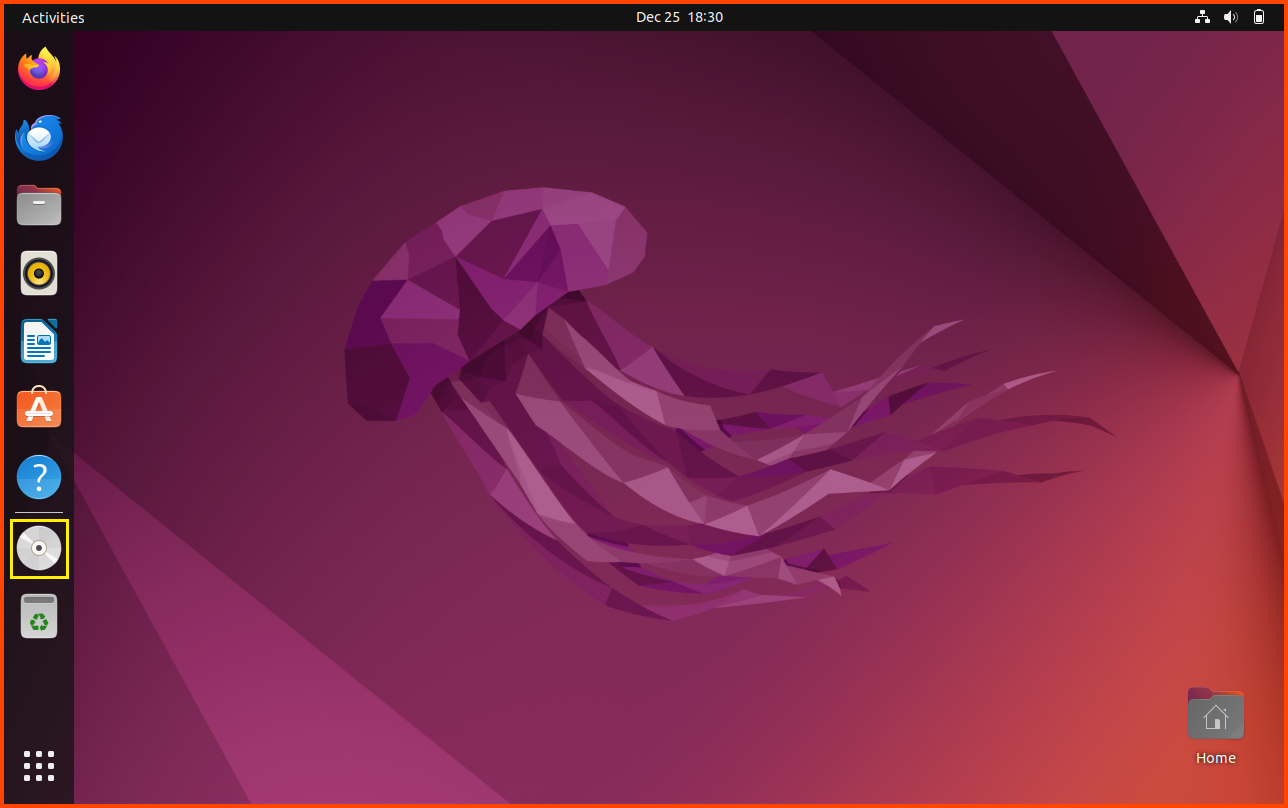
The disk will show up on the dock. Click on it to view the content of the disk.
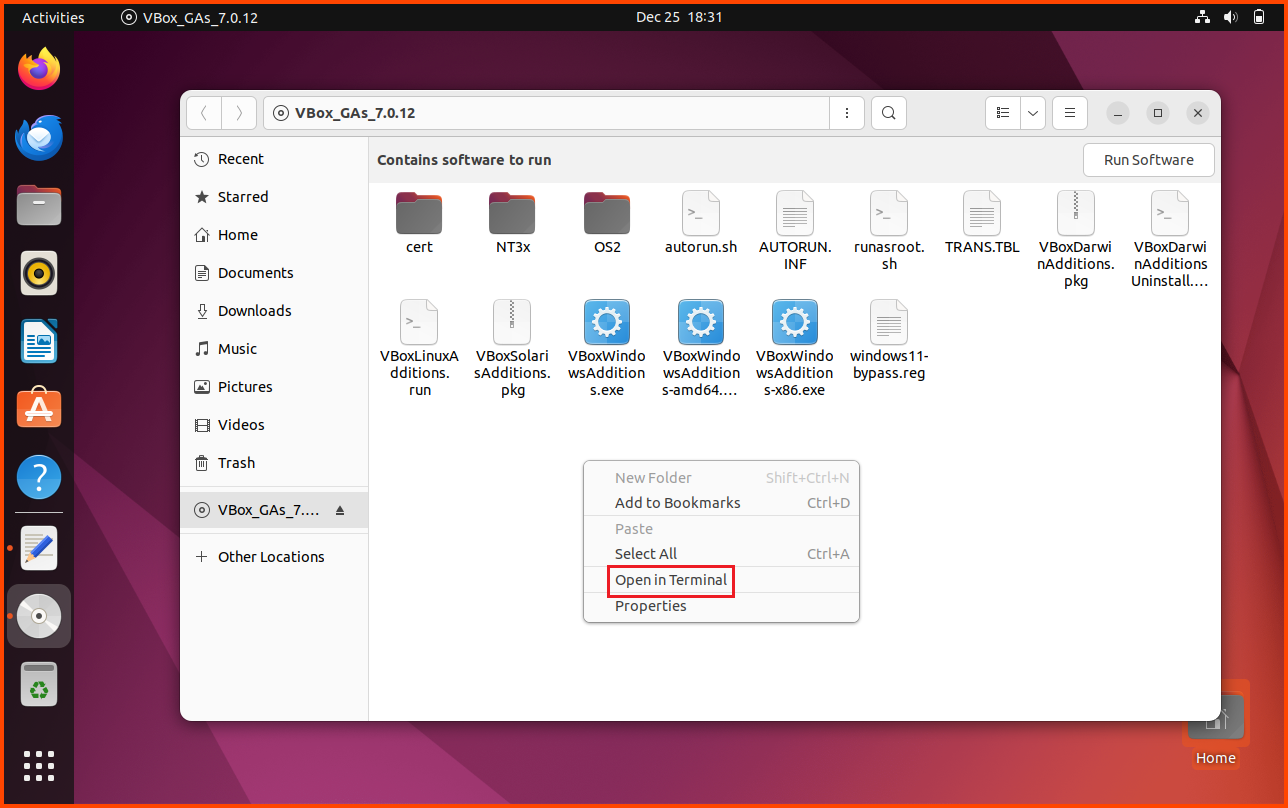
Right-click anywhere in the empty area in the File Explorer and select “Open in Terminal”.
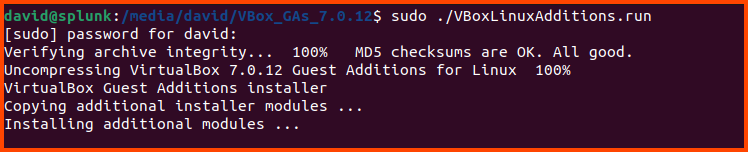
Run the following command to install Guest Additions:
1
sudo ./VBoxLinuxAdditions.run
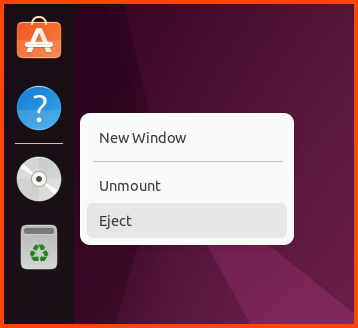
Once the installation is complete close the terminal, right-click on the disk icon in the dock and select Eject.
Installing Updates
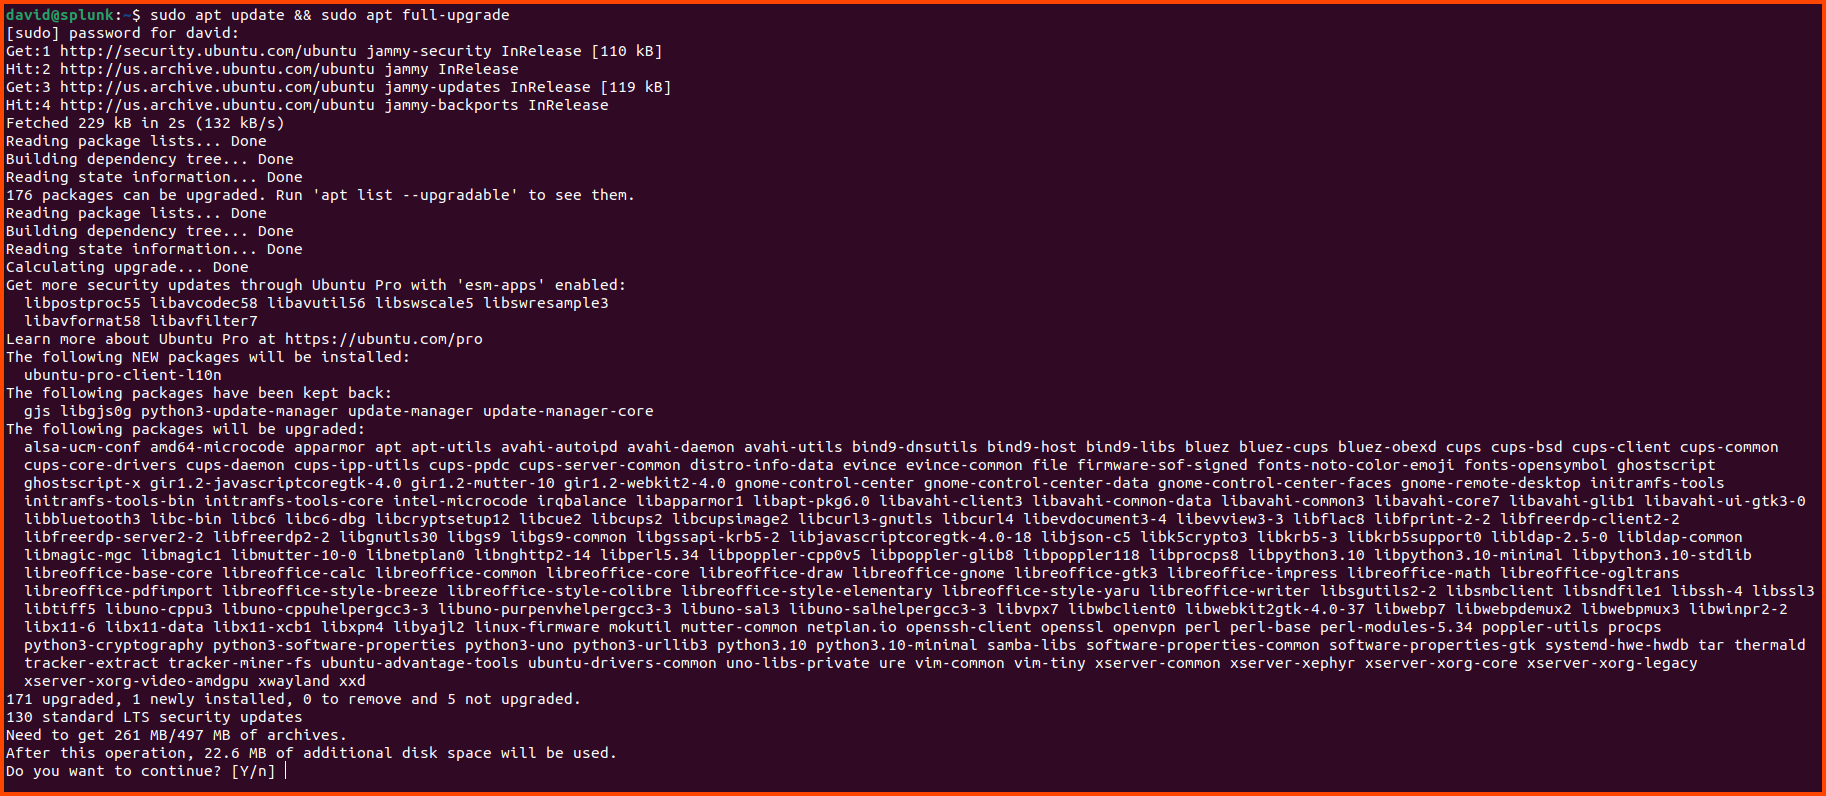
Press Ctrl+Alt+T to open a new terminal then enter the following command to update the system:
1
sudo apt update && sudo apt full-upgrade
Enter your password when prompted. If there are updates press Enter to start the install.
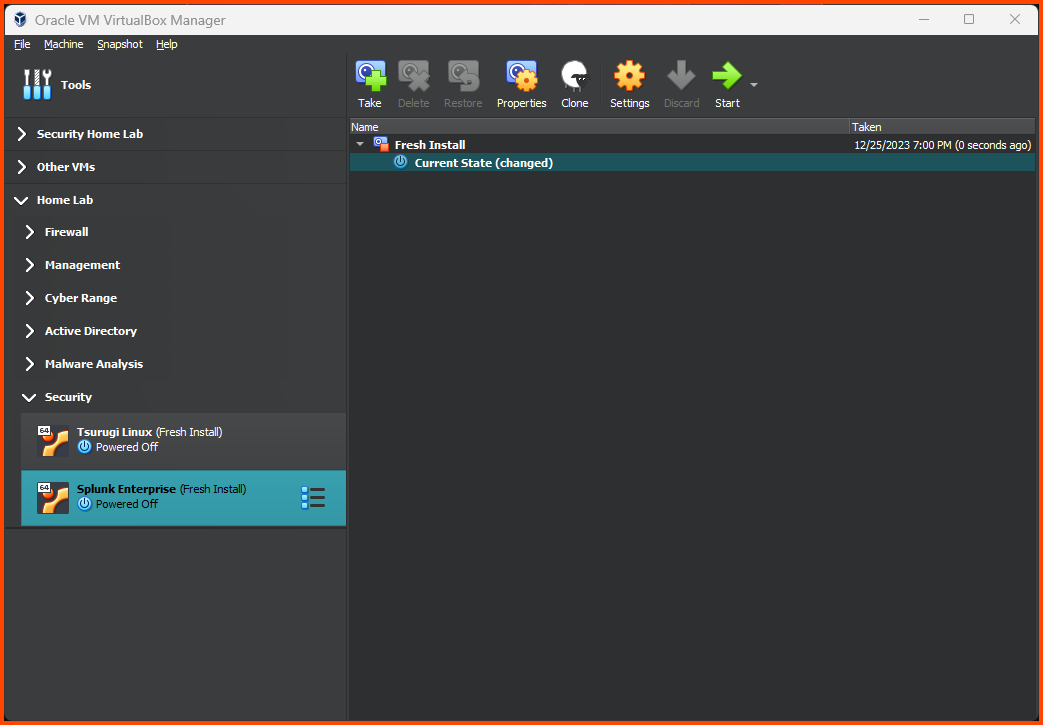
Creating VM Snapshot
Shut down the VM. Click on the Hamburger menu beside the VM name and select Snapshots.

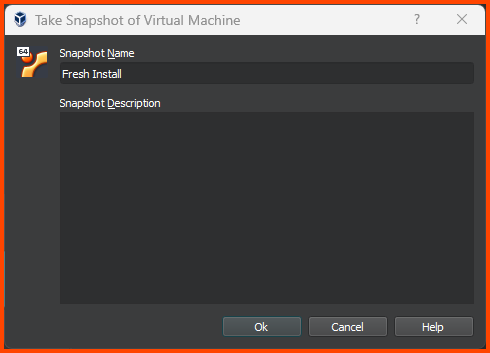
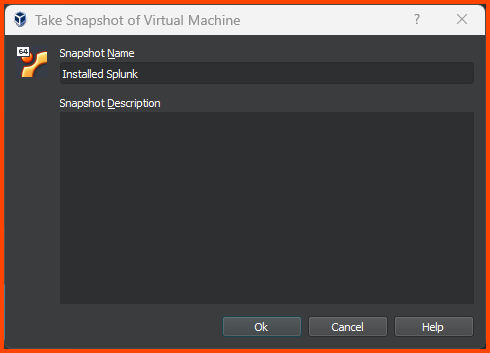
Click on Take to create a Snapshot.
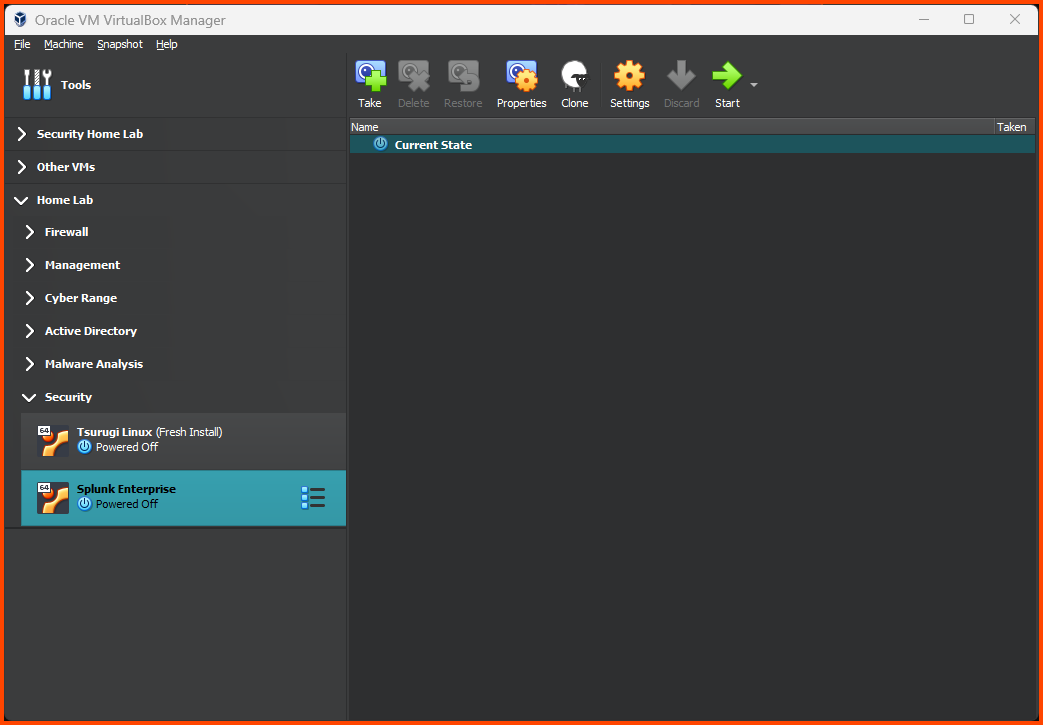
Provide a descriptive name and click on OK.
Click on the Hamburger menu and click on “Details” to return to the main page.
Splunk Installation
Splunk Download
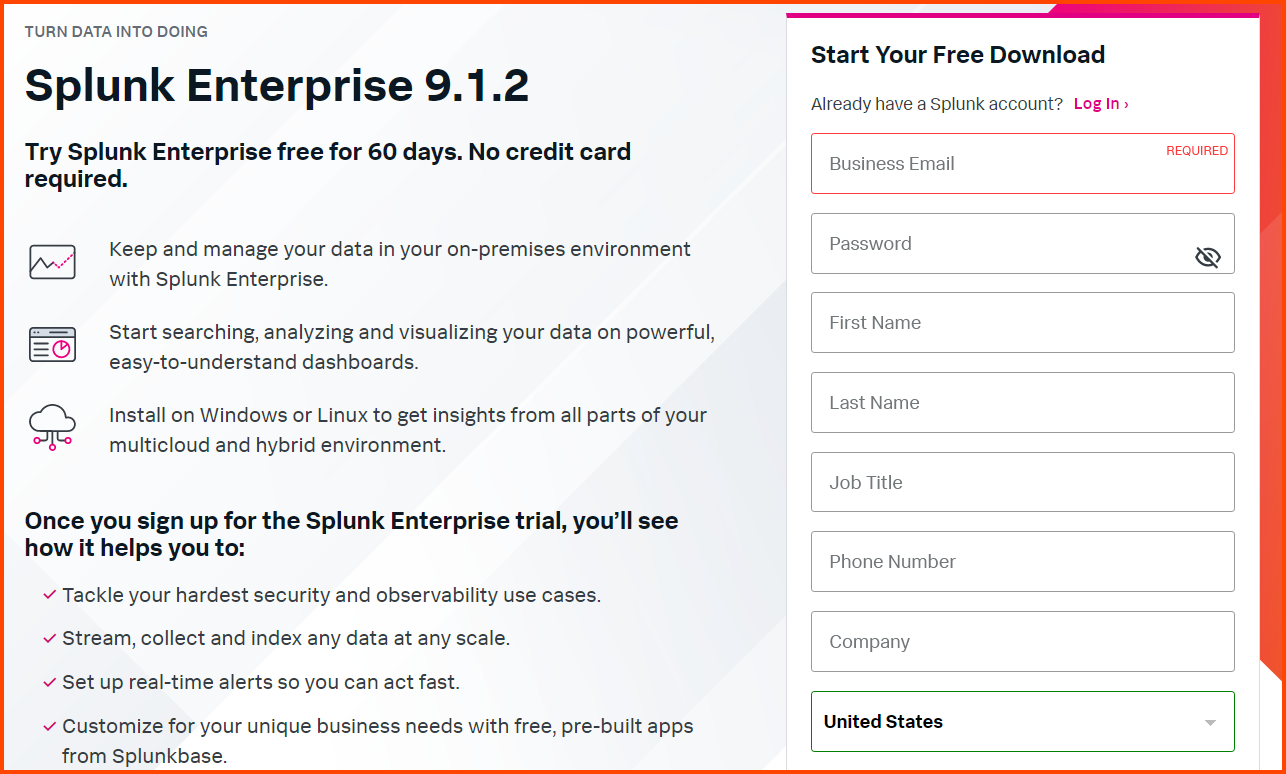
On the Ubuntu VM go to the following URL: Splunk Enterprise Free Trial | Splunk
As of writing the latest version of Splunk Enterprise is 9.1.2.
To download Splunk you have to create a account.
Link to get v9.1.2 without an account has been provided at the end of this section.
If you want to use the latest version follow the steps below to create a account.
Fill in the details in the form, accept the agreement and click on “Create the Account”.
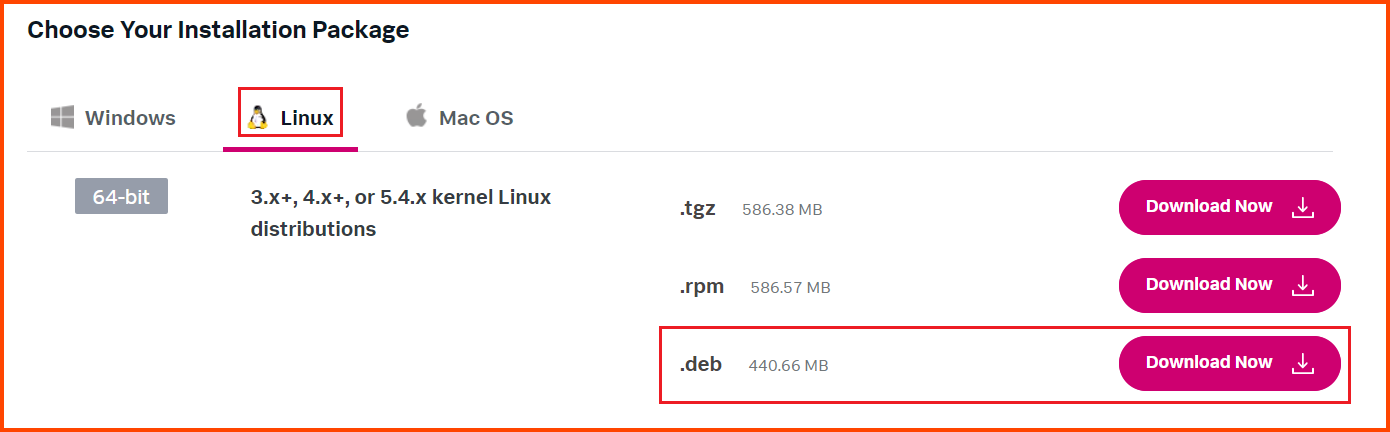
After login go to the Linux section and click on the “Download Now” button for the .deb file.
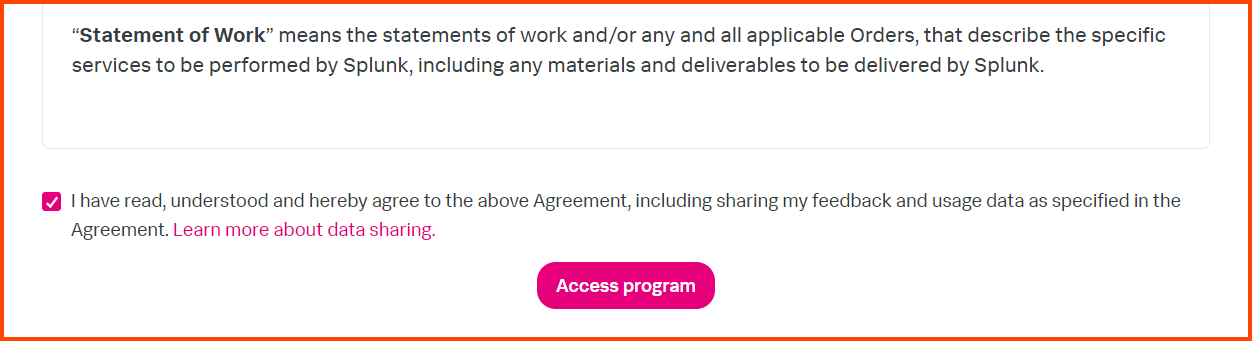
Scroll down and accept the agreement and then click on “Access program” to start the download.
Alternatively, use the following link to directly download Splunk v9.1.2:
Splunk Enterprise 9.1.2 - Linux (.deb) - Direct Download Link
Splunk Installation
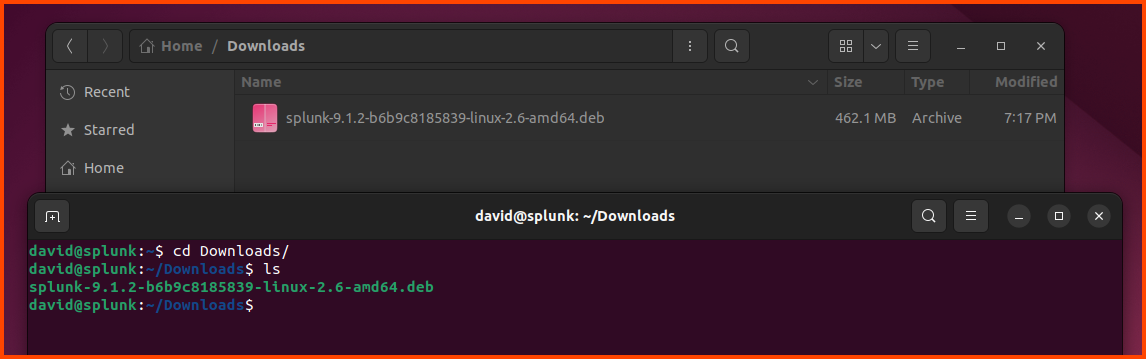
Once the download is complete we will have a .deb file. Open the Terminal (Ctrl+Alt+t) and navigate to the Downloads folder.
1
cd Downloads
Run the following following command to install curl (dependency for Splunk):
1
sudo apt install curl
Enter password when prompted.

Run the following command to install Splunk:
1
sudo dpkg -i splunk-9.1.2-b6b9c8185839-linux-2.6-amd64.deb
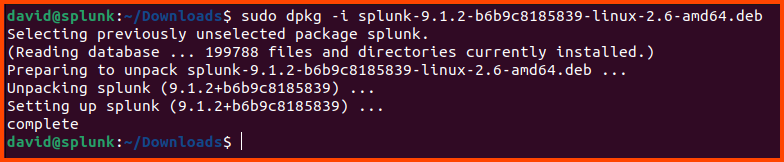
If you downloaded the latest version of Splunk the name of the downloaded file could be different from the one shown here. Use the filename that is shown on your system with the above command.
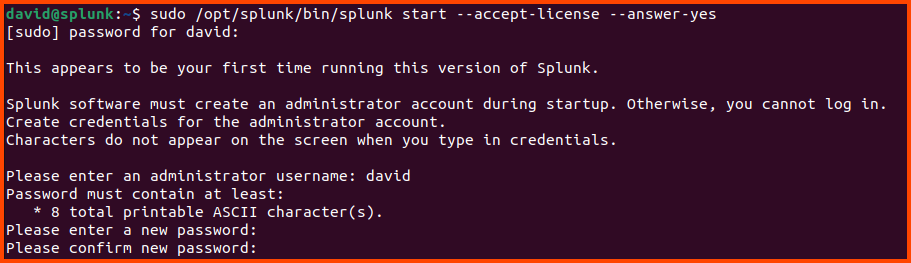
After the installation is completed use the following command to launch Splunk:
1
sudo /opt/splunk/bin/splunk start --accept-license --answer-yes
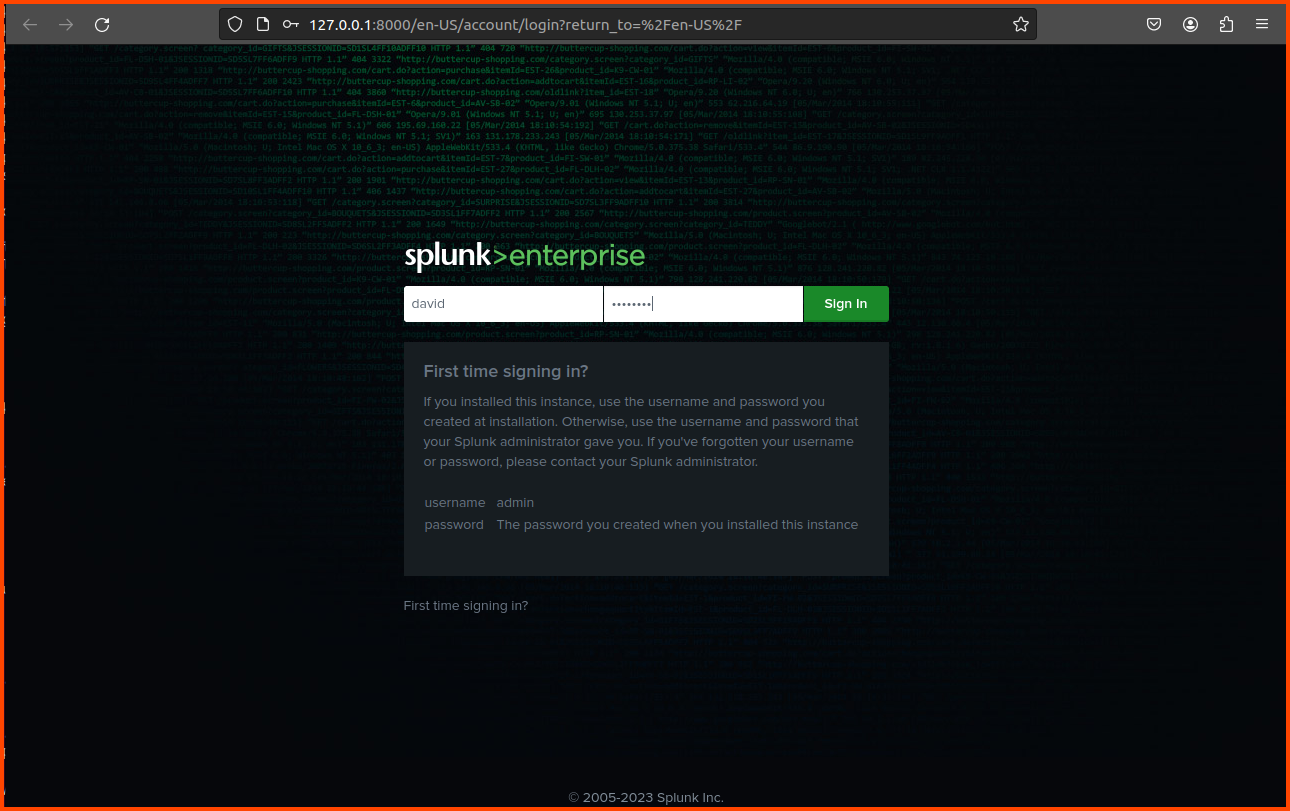
Provide a name and password when prompted. These credentials need to be used to log into Splunk.
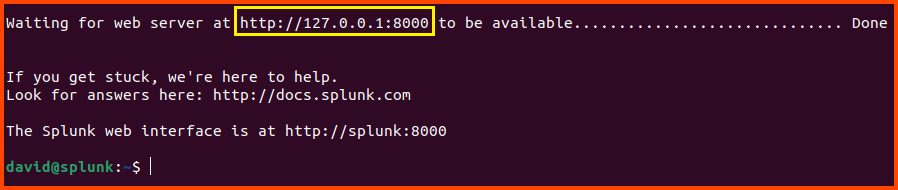
Once the setup is complete we see the Splunk is running on http://127.0.0.1:8000
Run the following to allow Splunk to start automatically when the system is booted.
1
sudo /opt/splunk/bin/splunk enable boot-start

You can choose to ignore the last command to enable auto boot.
If you do not enable run at boot the command that was shown above to start Splunk will need to run to start Splunk.
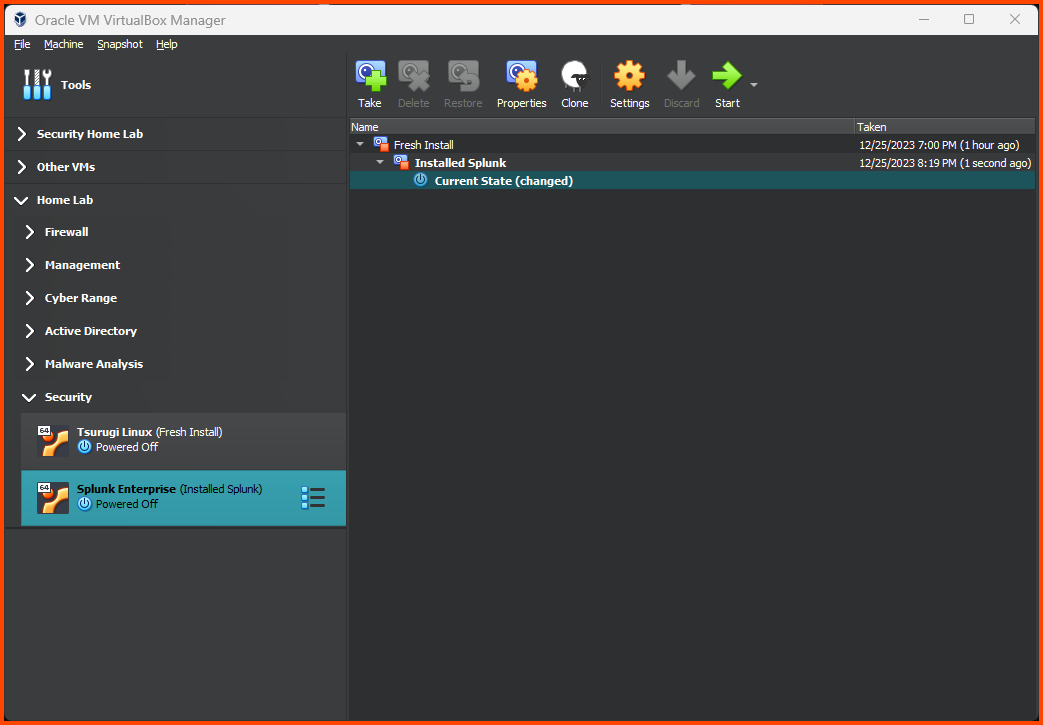
Creating VM Snapshot
Shut down the VM. Using the Hamburger menu access the Snapshot page. Click on Take to create a Snapshot. Give the Snapshot a descriptive name.
Splunk Configuration
Before we can install Splunk Universal Forwarder there are a few settings we need to change in Splunk. Open Splunk by going to http://127.0.0.1:8000.
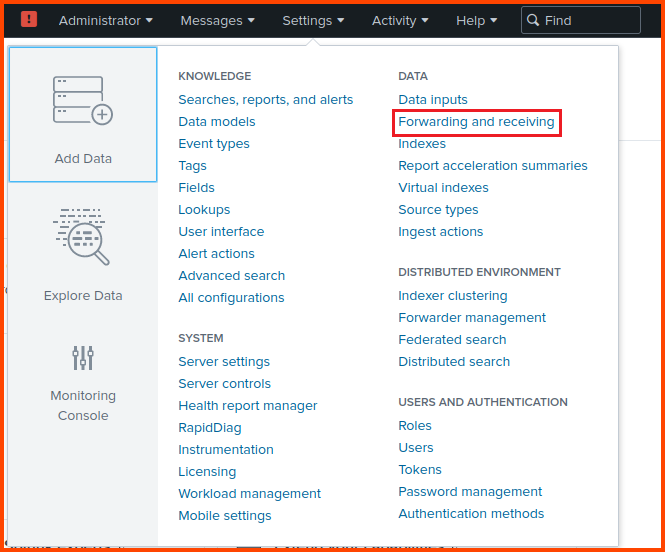
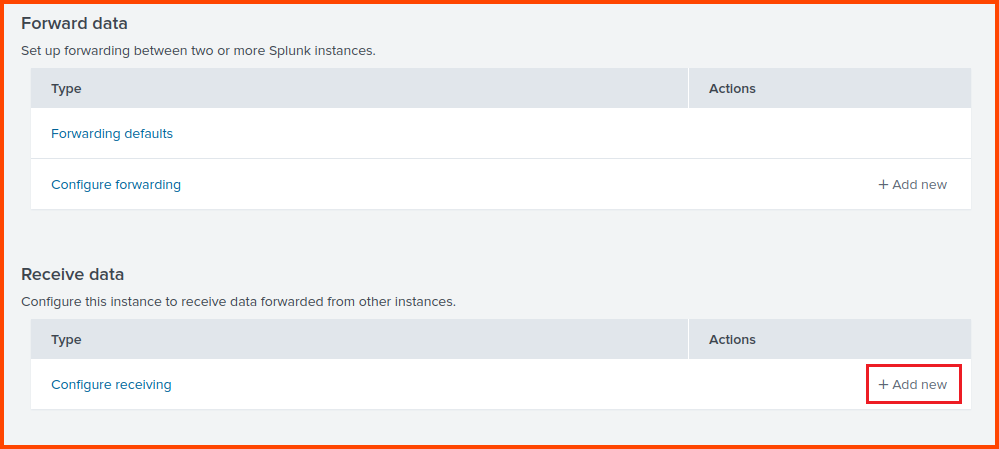
From the toolbar select Settings -> Forwarding and receiving.
Click on “Add new” in the Receive data section.
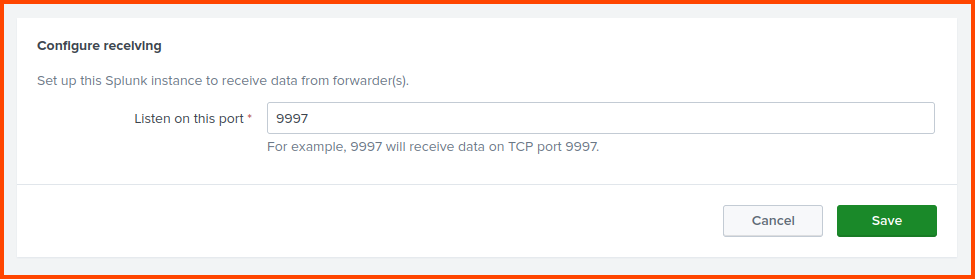
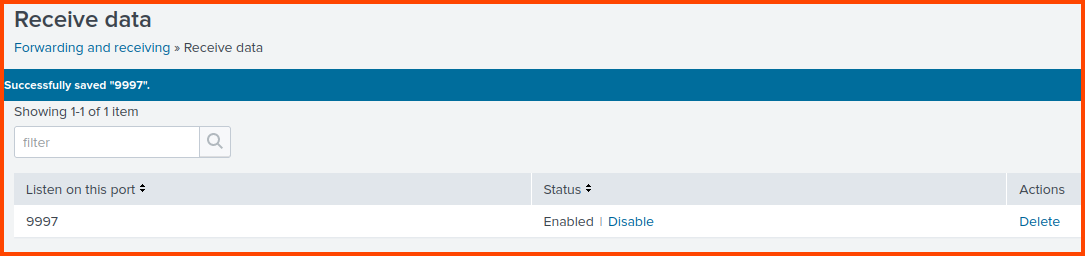
Enter 9997 as the port to listen for incoming data. Click on Save.
Universal Forwarder Installation
The next steps need to be performed on the Domain Controller (Windows Server 2019). We are going to ingest the log data that is generated by this device into Splunk.
Universal Forwarder Download
Go to the following link to download Universal Forwarder: Download Universal Forwarder for Remote Data Collection | Splunk
You need to log in to be able to download the setup. Select the Windows tab and then click on the Download Now button beside the 64-bit option.
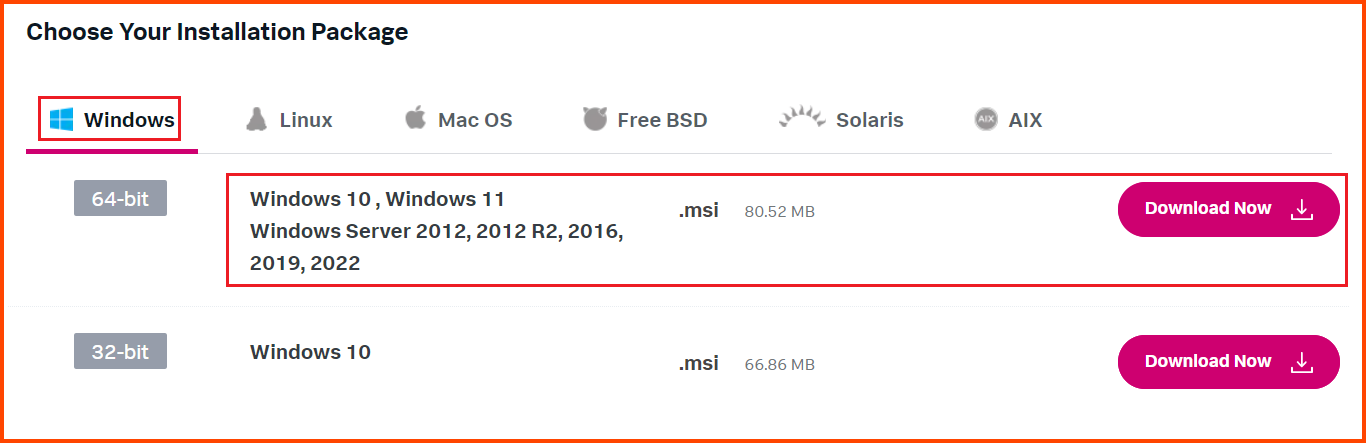
Alternatively, Splunk Universal Forwarder v9.1.2 can be downloaded directly using the following link: Splunk Universal Forwarder 9.1.2 - Windows (.msi) - Direct Download Link
Universal Forwarder Install
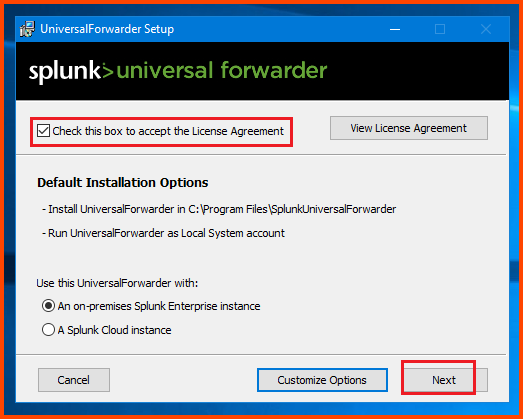
Double-click on the .msi file to begin installation.

Check the box on the top to accept the agreement and then click on Next.
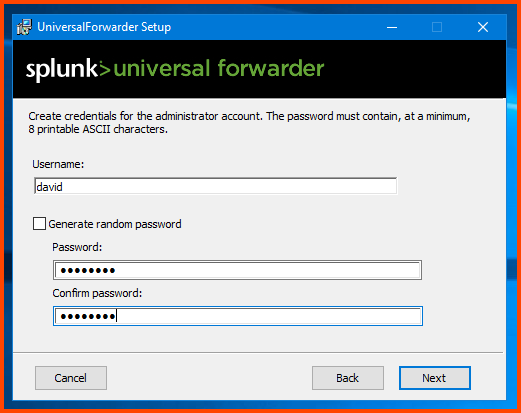
Provide a username and password for the Forwarder. I would recommend using the same credentials that were configured on Splunk.
For the new step need the IP address of the Ubuntu (Splunk) VM. Use the following command to get the IP address.
1
ip a
Use the IP address that is shown under enp0s3.
If in your case instead of
enp0s3you seeeth0use the IP address that is shown under that section.
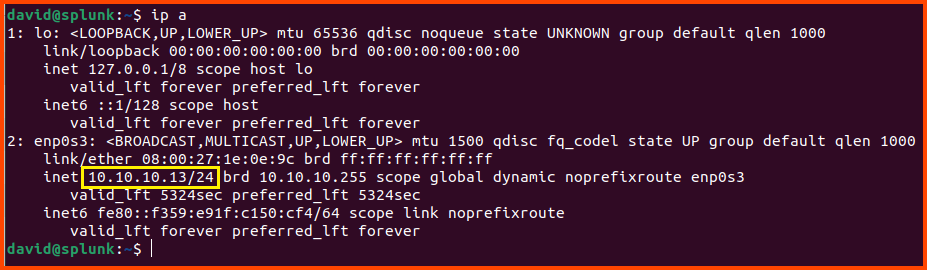
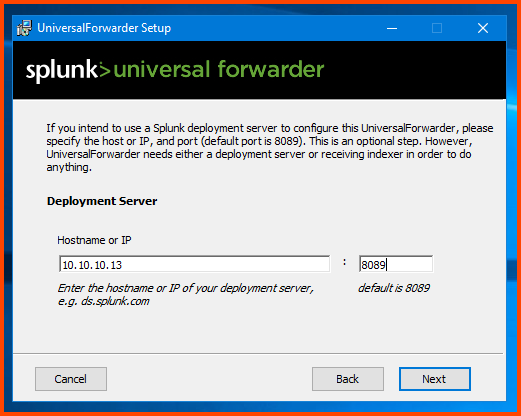
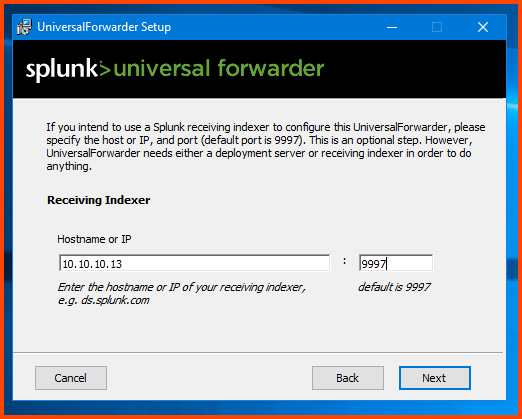
Enter the IP address of the Splunk VM (in my case 10.10.10.13) and enter 8089 as the value for the port field then click on Next.
Again enter the Splunk VM IP address and for port enter 9997. This is the port we configured in Splunk. Click on Next to continue.
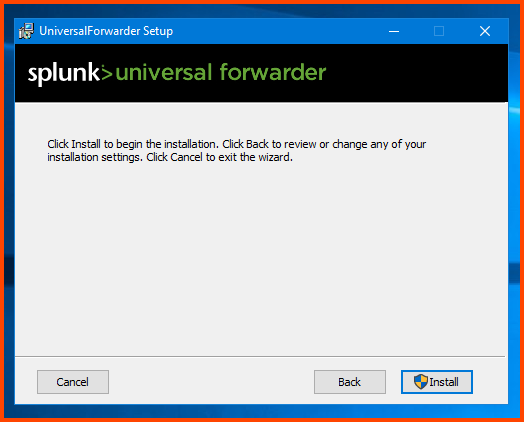
Click on Install.
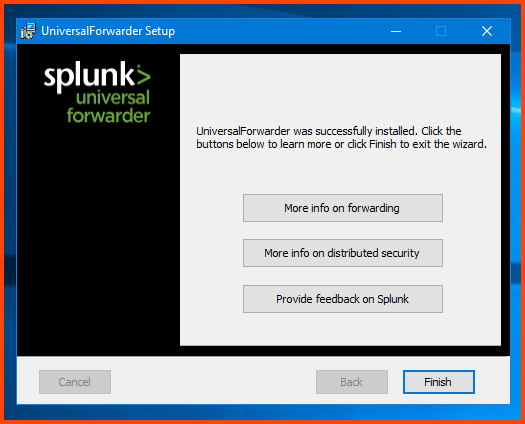
Click on Finish to close the installer.
Data Ingestion Configuration
Now that we have Splunk and Universal Forwarder configured we need to link both the pieces together so that Splunk can collect data.
Adding Data Source
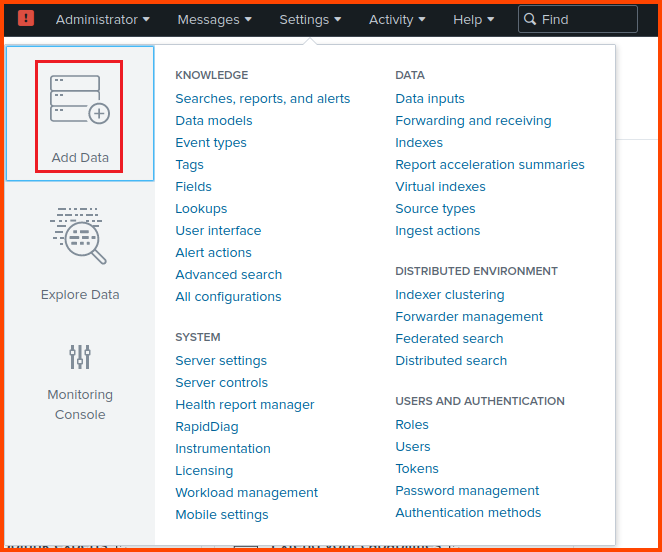
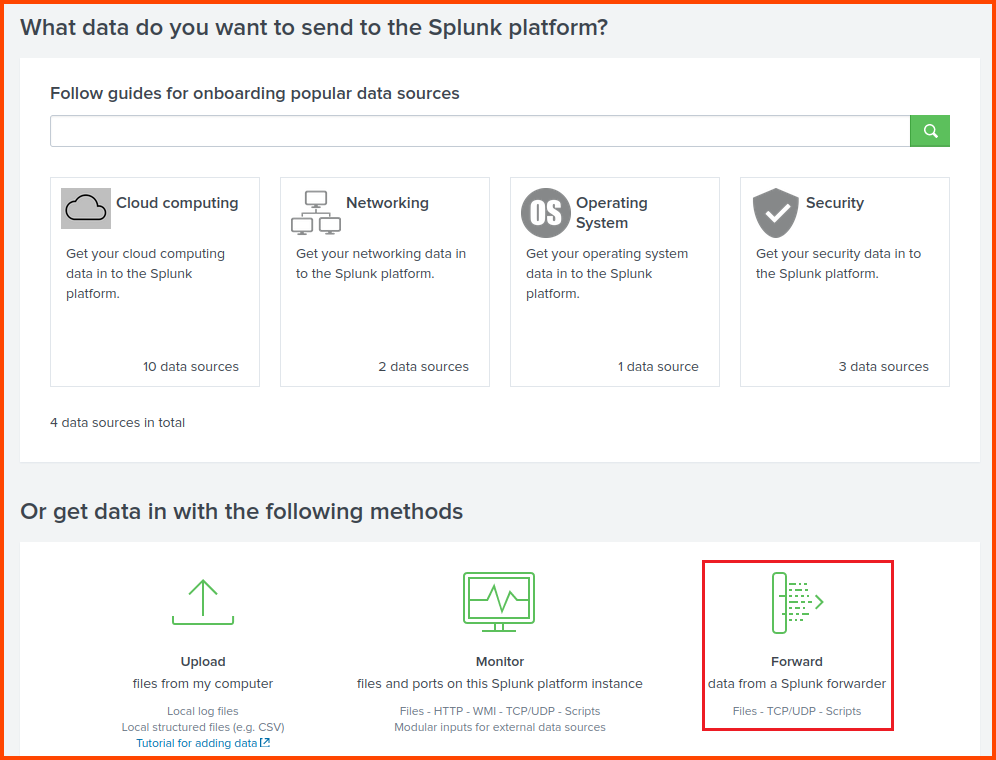
In Splunk select Settings -> Add Data.
Click on Forward.
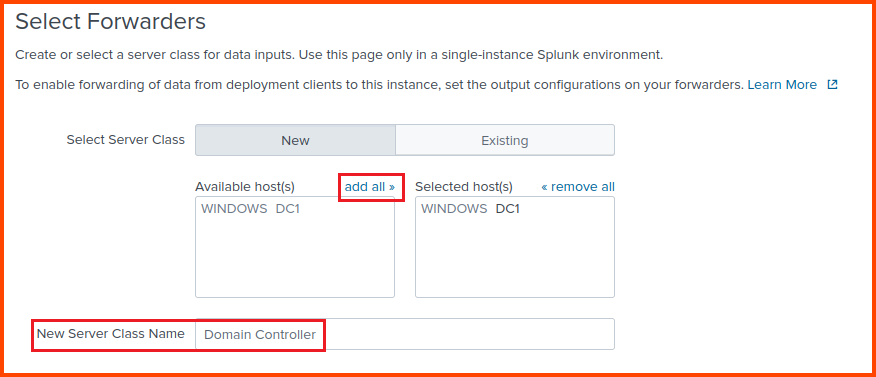
Our DC VM should automatically show up in the left box. Click on “add all” to move it to the right side. In the “New Source Class Name” field provide a name for the source. Click on Next to continue.
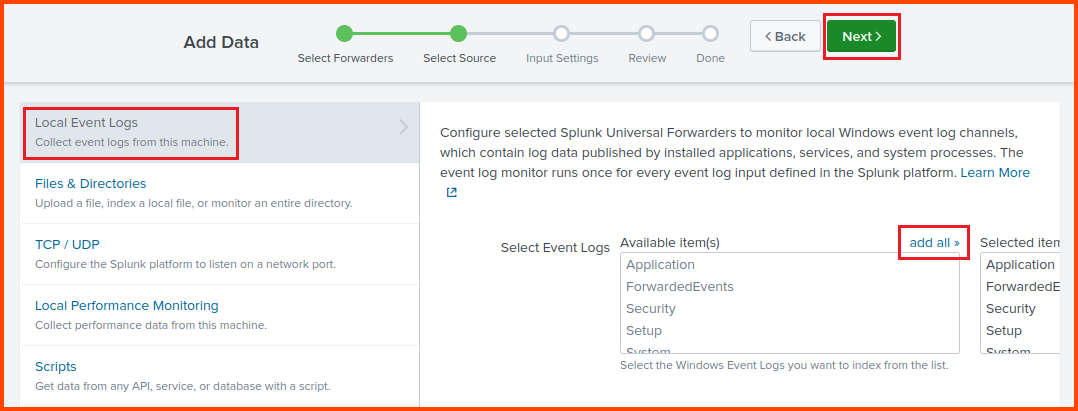
Select “Local Event Logs” then click on the “add all” button above the dropdown field to ingest all the logs generated by the DC. Click on Next once done.
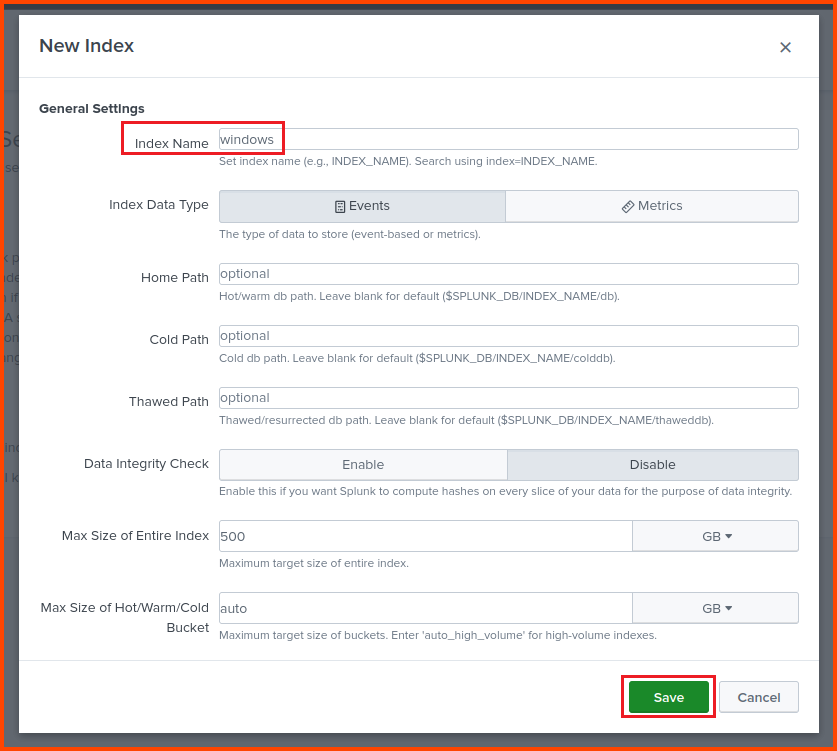
Click on “Create a new index“.Indexes are the Splunk equivalent of SQL Tables. It is used to store similar data.
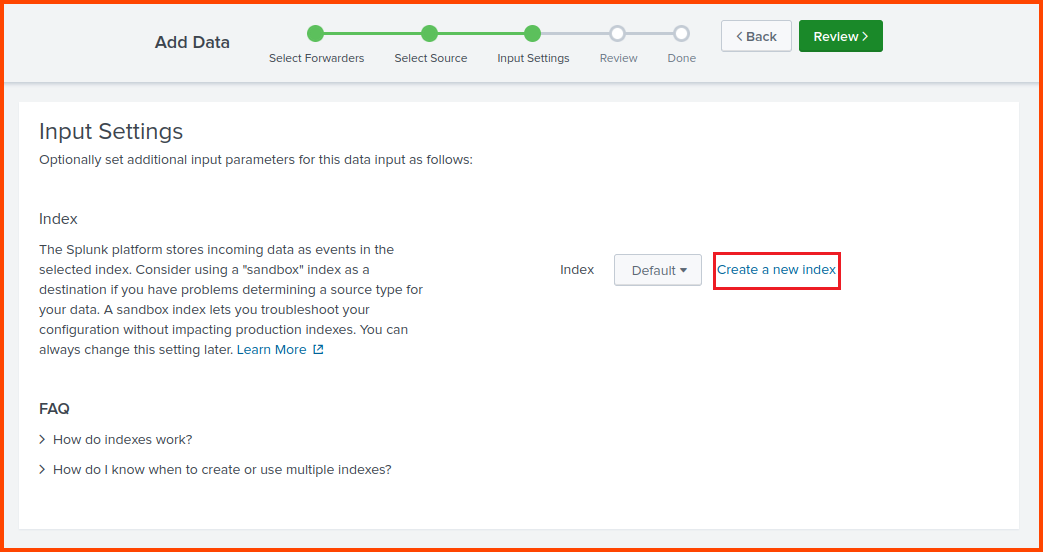
Provide the Index a name. Keep all the other fields on their default value and click on Save then click on Next.
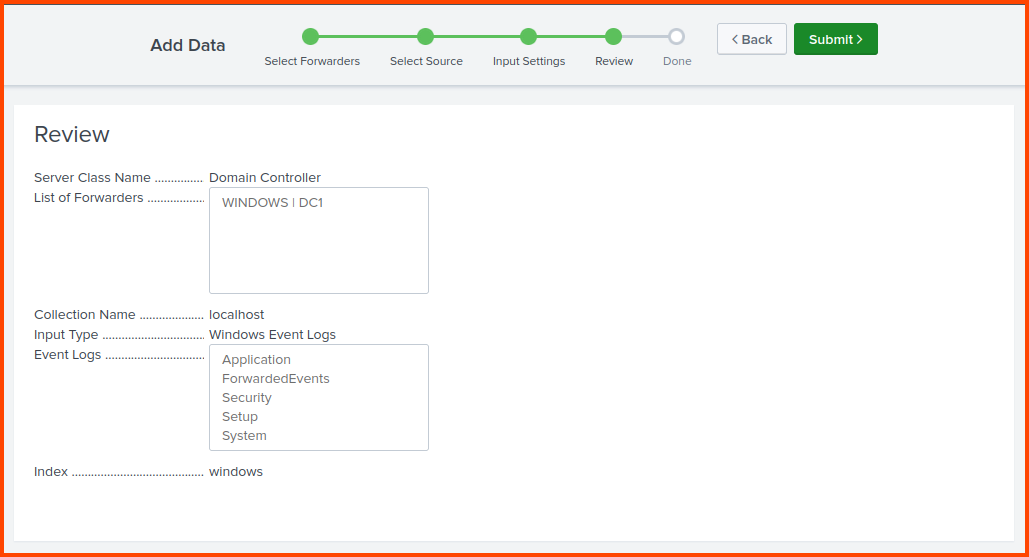
Confirm all the options look correct and click on Submit.
Querying Data
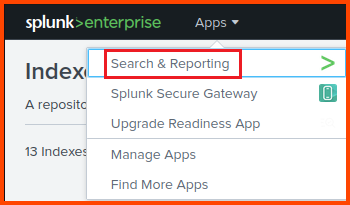
From the Splunk toolbar select Apps -> Search & Reporting.
In the search box enter the following to view the ingested data:
1
index="windows"
In the above command “windows” is the name I gave my index.
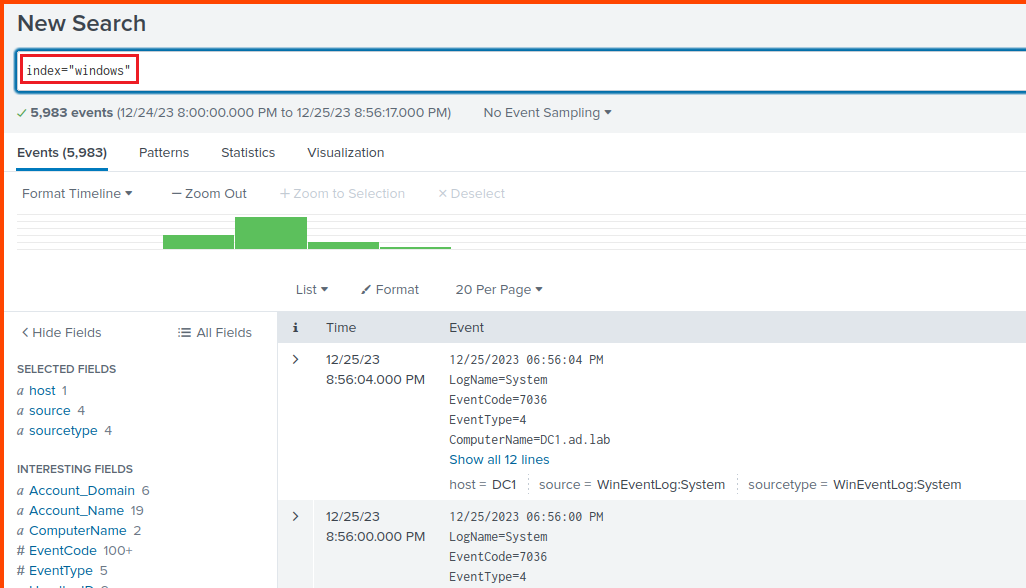
If the search does not return any value, wait for 2-3 minutes and then try again. If there is still no data go to the Windows VM and perform some simple actions (open applications, change settings, etc.) then after sometime you should see data flowing into Splunk.
In the next module, we will see how we can download files/malware onto the DFIR VM and then move them over to the Malware Analysis lab using SCP.